
4. AWS S3 Management

🚀 Aspiring DevOps & Cloud Engineer | Passionate about Automation, CI/CD, Containers, and Cloud Infrastructure ☁️ I work with Docker, Kubernetes, Jenkins, Terraform, AWS (IAM & S3), Linux, Shell Scripting, and Git to build efficient, scalable, and secure systems. Currently contributing to DevOps-driven projects at Assurex e-Consultant while continuously expanding my skills through hands-on cloud and automation projects. Sharing my learning journey, projects, and tutorials on DevOps, AWS, and cloud technologies to help others grow in their tech careers. 💡 Let’s learn, build, and innovate together!
S3 Object Lock
Amazon S3’s Object Lock feature enables you to enforce a write-once-read-many (WORM) model, ensuring complete data immutability. By preventing objects from being permanently deleted or overwritten, Object Lock helps you meet stringent regulatory and compliance requirements.
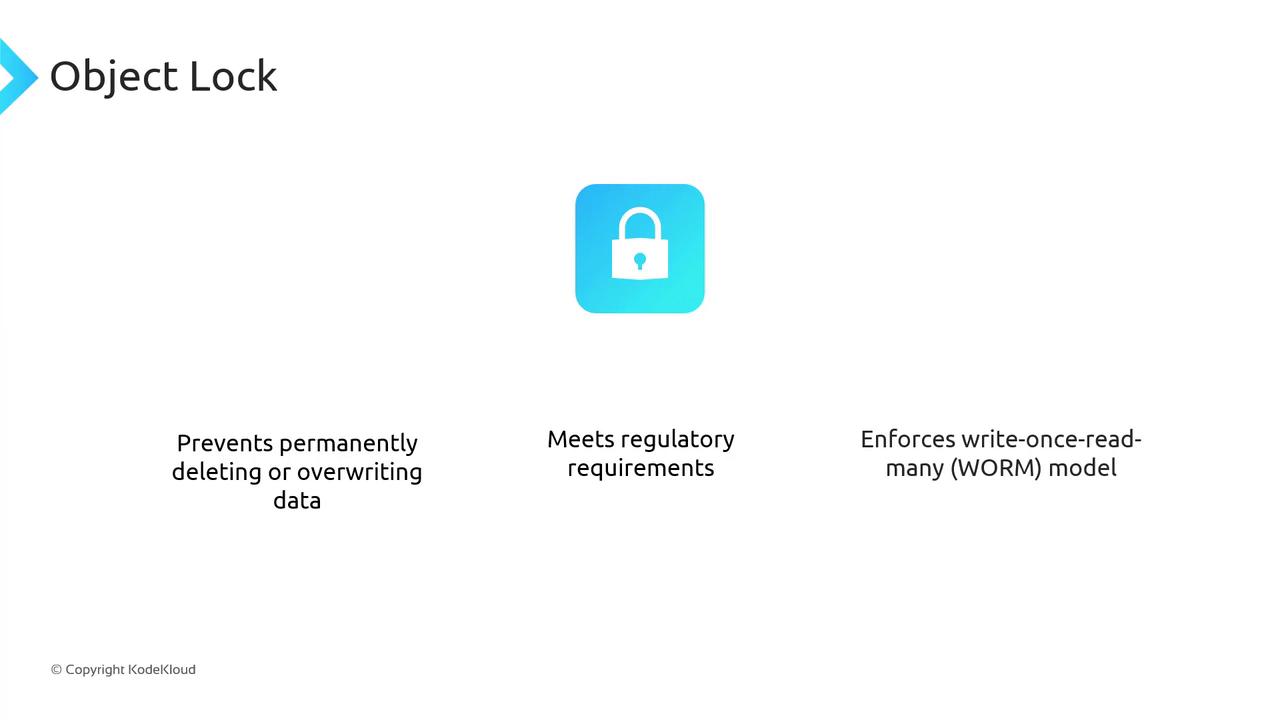
How Object Lock Works
You can apply Object Lock at two levels:
Object-level – Lock individual objects when you upload them.
Bucket-level rule – Automatically lock every new object in the bucket.
Once locked, objects cannot be deleted or altered until the retention period expires (or until you remove a legal hold).
Use Case: Financial Records Retention
Regulated industries—such as banking and insurance—must often retain records for a defined period. With Object Lock, you can specify exactly how long data must remain immutable.
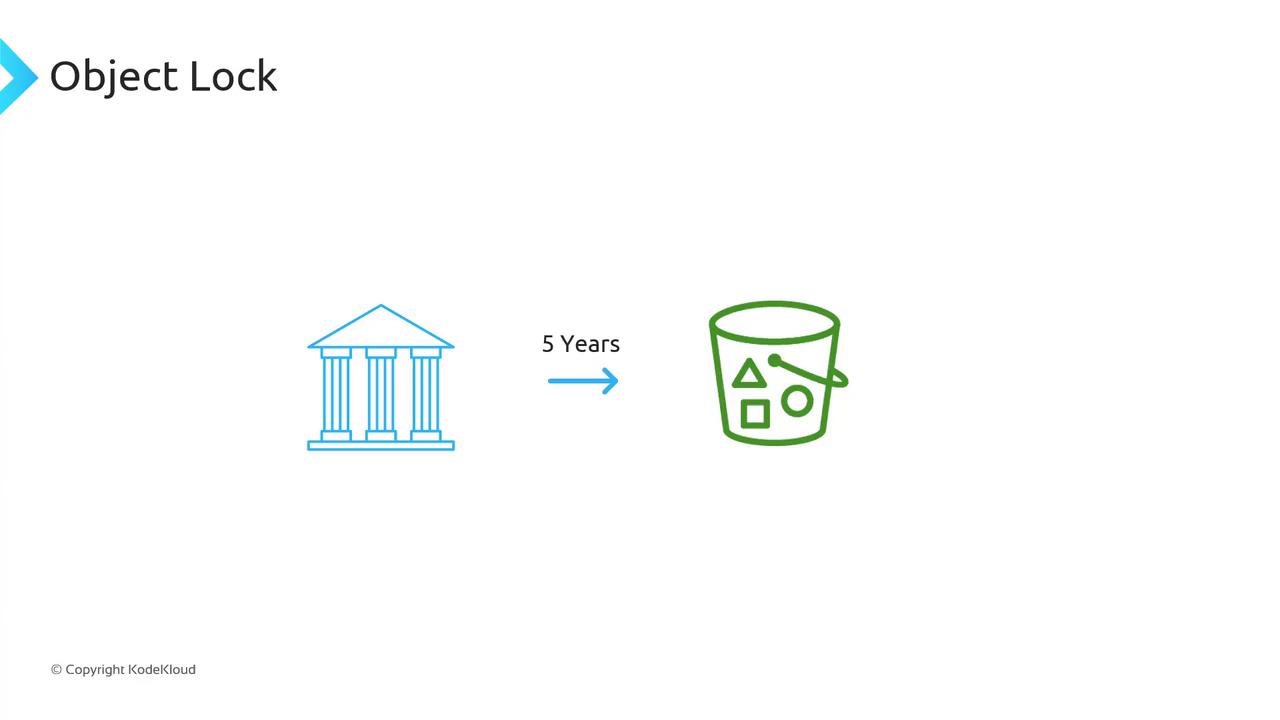
For example, enforcing a five-year retention period ensures that critical financial records remain tamper-proof until that timeframe ends.
Object Lock Modes
Choose one of two retention modes when locking an object:
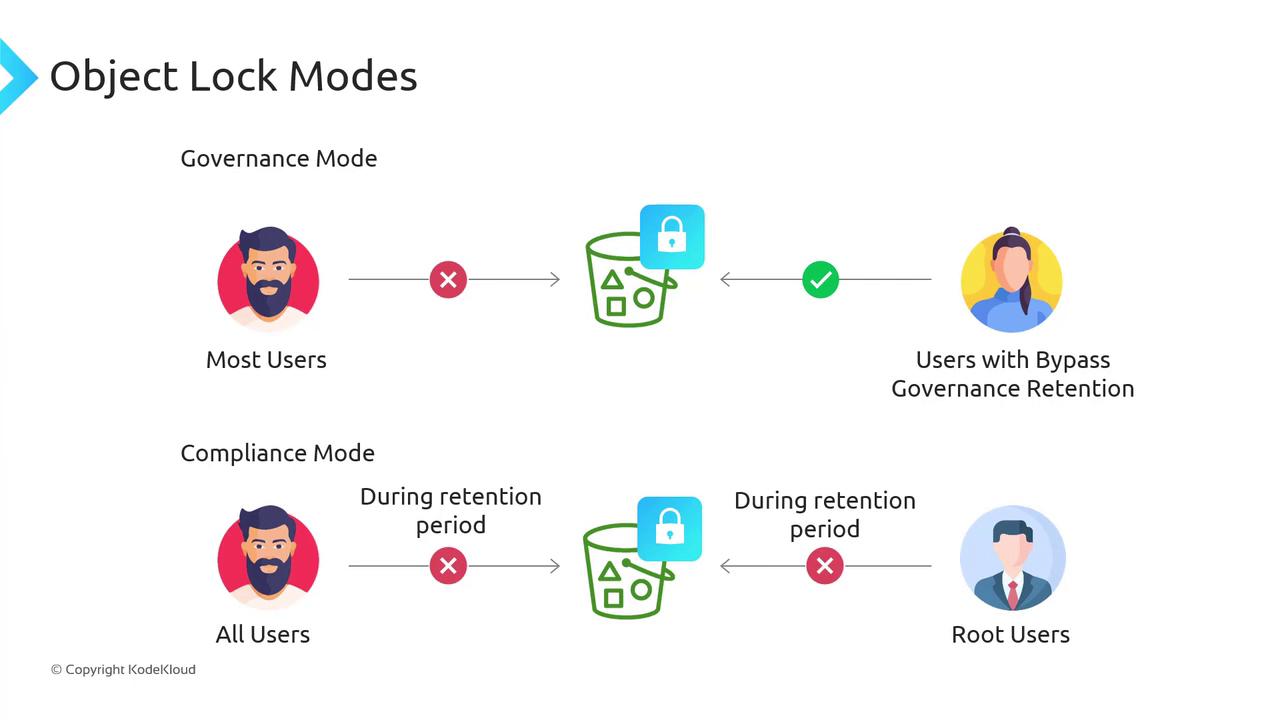
| Mode | Description | Required Permission |
| Governance Mode | Most users are blocked from deleting or overwriting. Principals with bypass rights can modify. | s3:BypassGovernanceRetention |
| Compliance Mode | All users—including the root user—are blocked from deleting or shortening retention. | None (only AWS account deletion) |
Note
Governance Mode lets security admins with the s3:BypassGovernanceRetention permission perform emergency deletions if needed.
Compliance Mode guarantees unbreakable WORM protection—for any removal, you must delete the entire AWS account.
Legal Hold
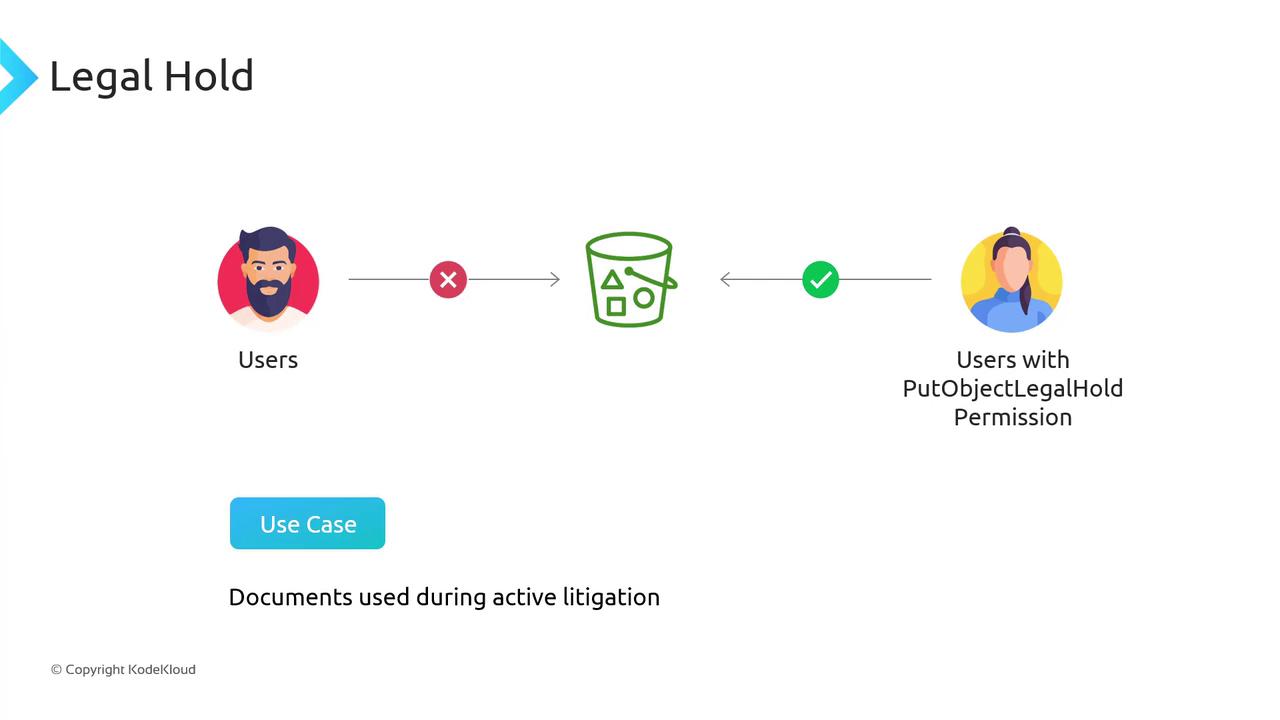
When the exact retention period is unknown—such as during active litigation—you can apply a Legal Hold. This disables object deletion or modification indefinitely until the hold is lifted.
Only principals with the s3:PutObjectLegalHold permission can remove a Legal Hold.
aws s3api put-object-legal-hold \
  --bucket my-bucket \
  --key important-document.pdf \
  --legal-hold Status=ON
Prerequisites
Warning
Object Lock must be enabled at bucket creation and cannot be turned on afterward.
Ensure Versioning is also enabled on the same bucket.
Enable Versioning on your S3 bucket.
Enable Object Lock when you create the bucket.
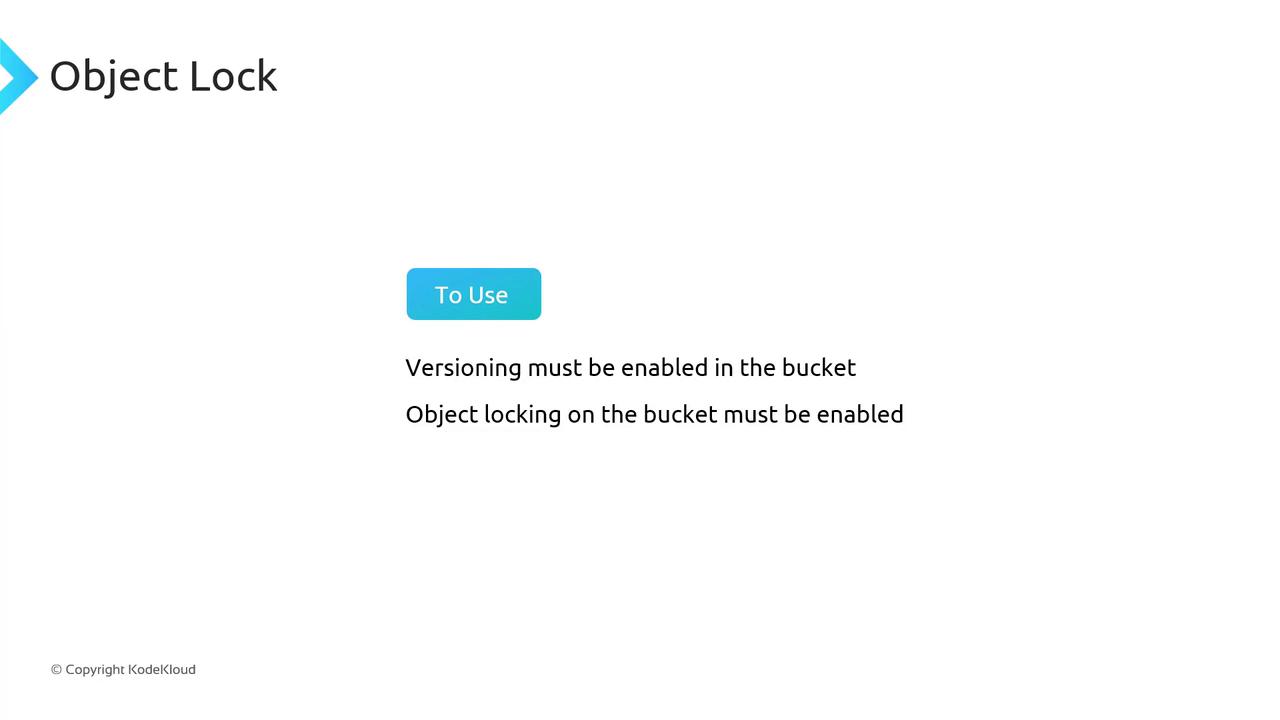
Once both settings are enabled, you can configure retention periods, switch modes, and apply Legal Holds to satisfy compliance mandates.
Demo S3 Object Lock
Learn how to enable and enforce Object Lock on Amazon S3 buckets, apply governance and compliance retention modes, and verify access restrictions using IAM policies.
1. Create an S3 Bucket with Object Lock
In the AWS S3 console, click Create bucket.
Under Advanced settings, check Enable Object Lock.

Note
Object Lock requires versioning. When you enable Object Lock, S3 automatically enables versioning for the bucket (the Versioning option is grayed out).
2. Upload an Object
Upload a test file, for example file1.txt, to your new bucket:
Click Upload.
Select
file1.txt.Confirm and upload.
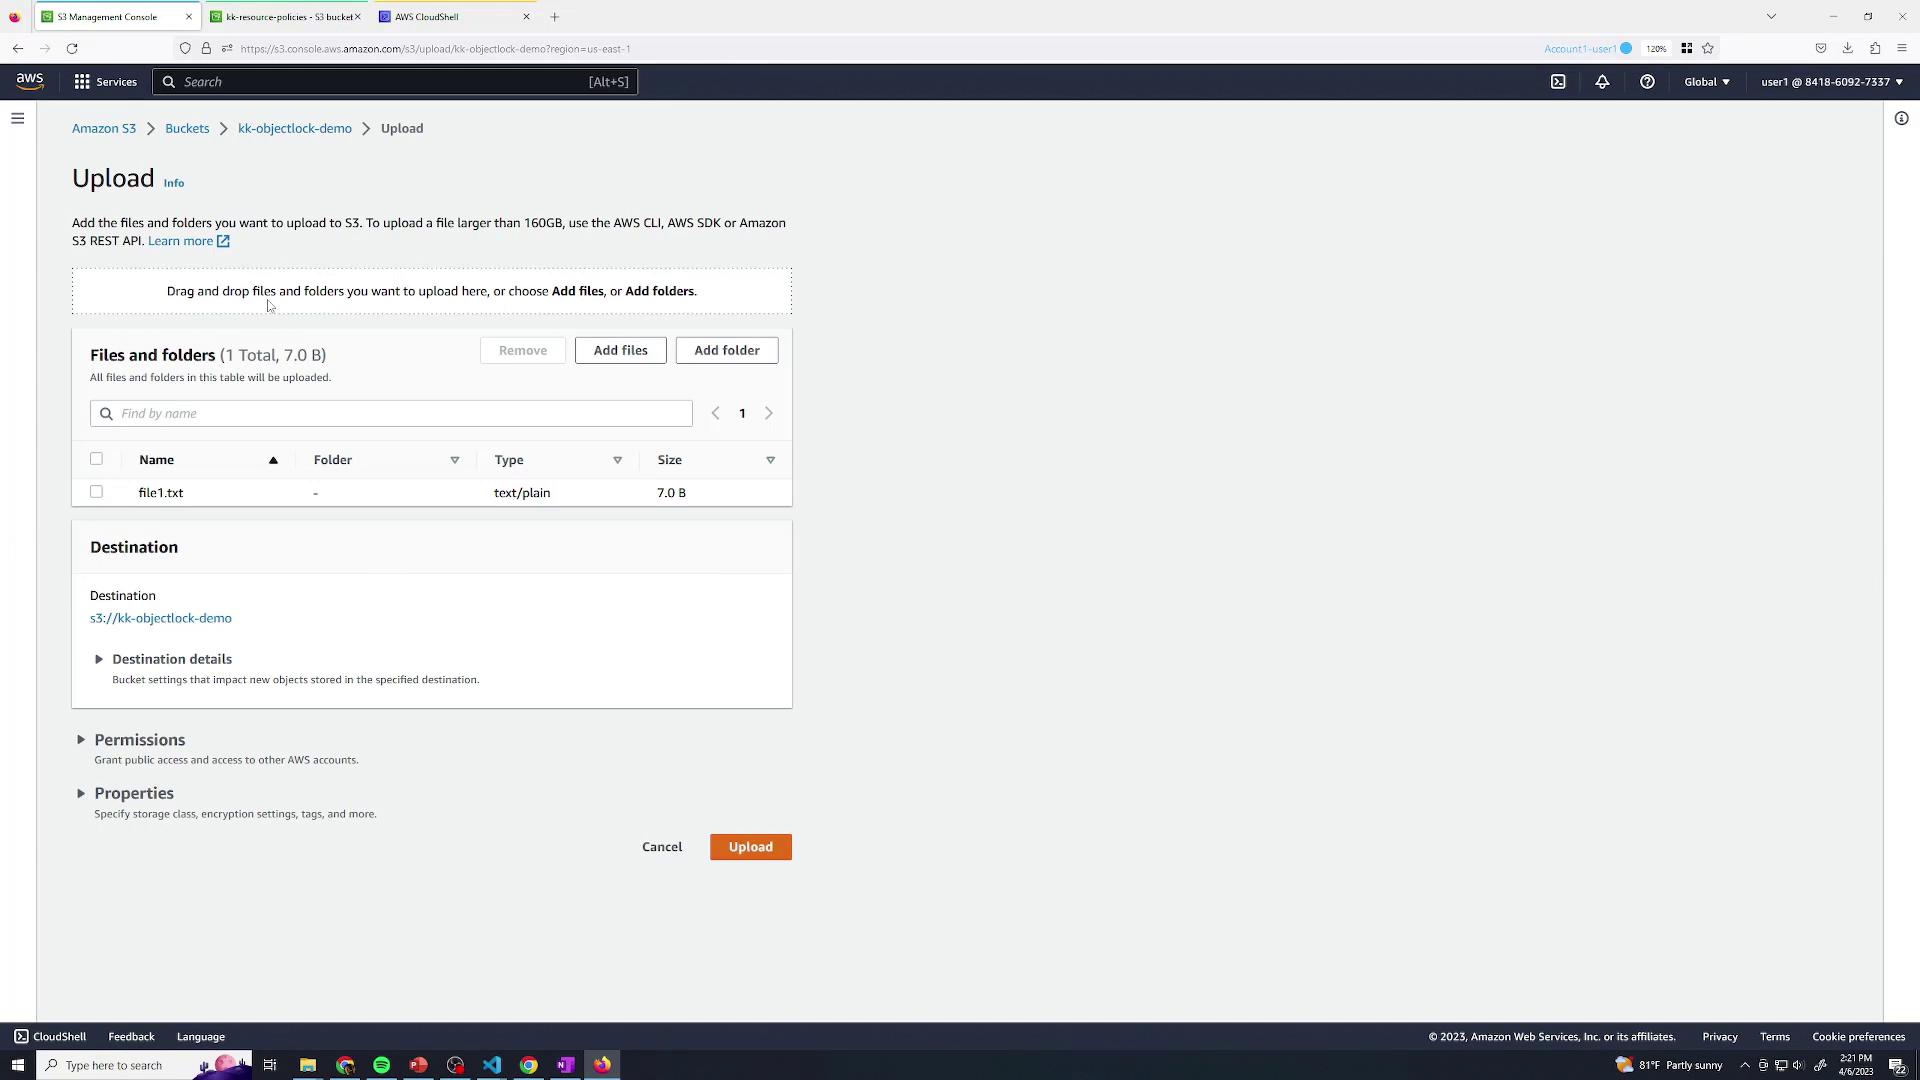
After upload, open the object’s Properties to configure Object Lock.
3. Configure Object Lock Retention
In the object’s Object Lock section you can choose:
Legal Hold: Indefinite hold without a retention date.
Retention Mode: Specify Governance or Compliance mode and a retention date.
| Retention Mode | Bypass Permission Required | Use Case |
| Governance Mode | s3:BypassGovernanceRetention | Temporary holds with exception |
| Compliance Mode | Not bypassable | Regulatory or compliance mandates |
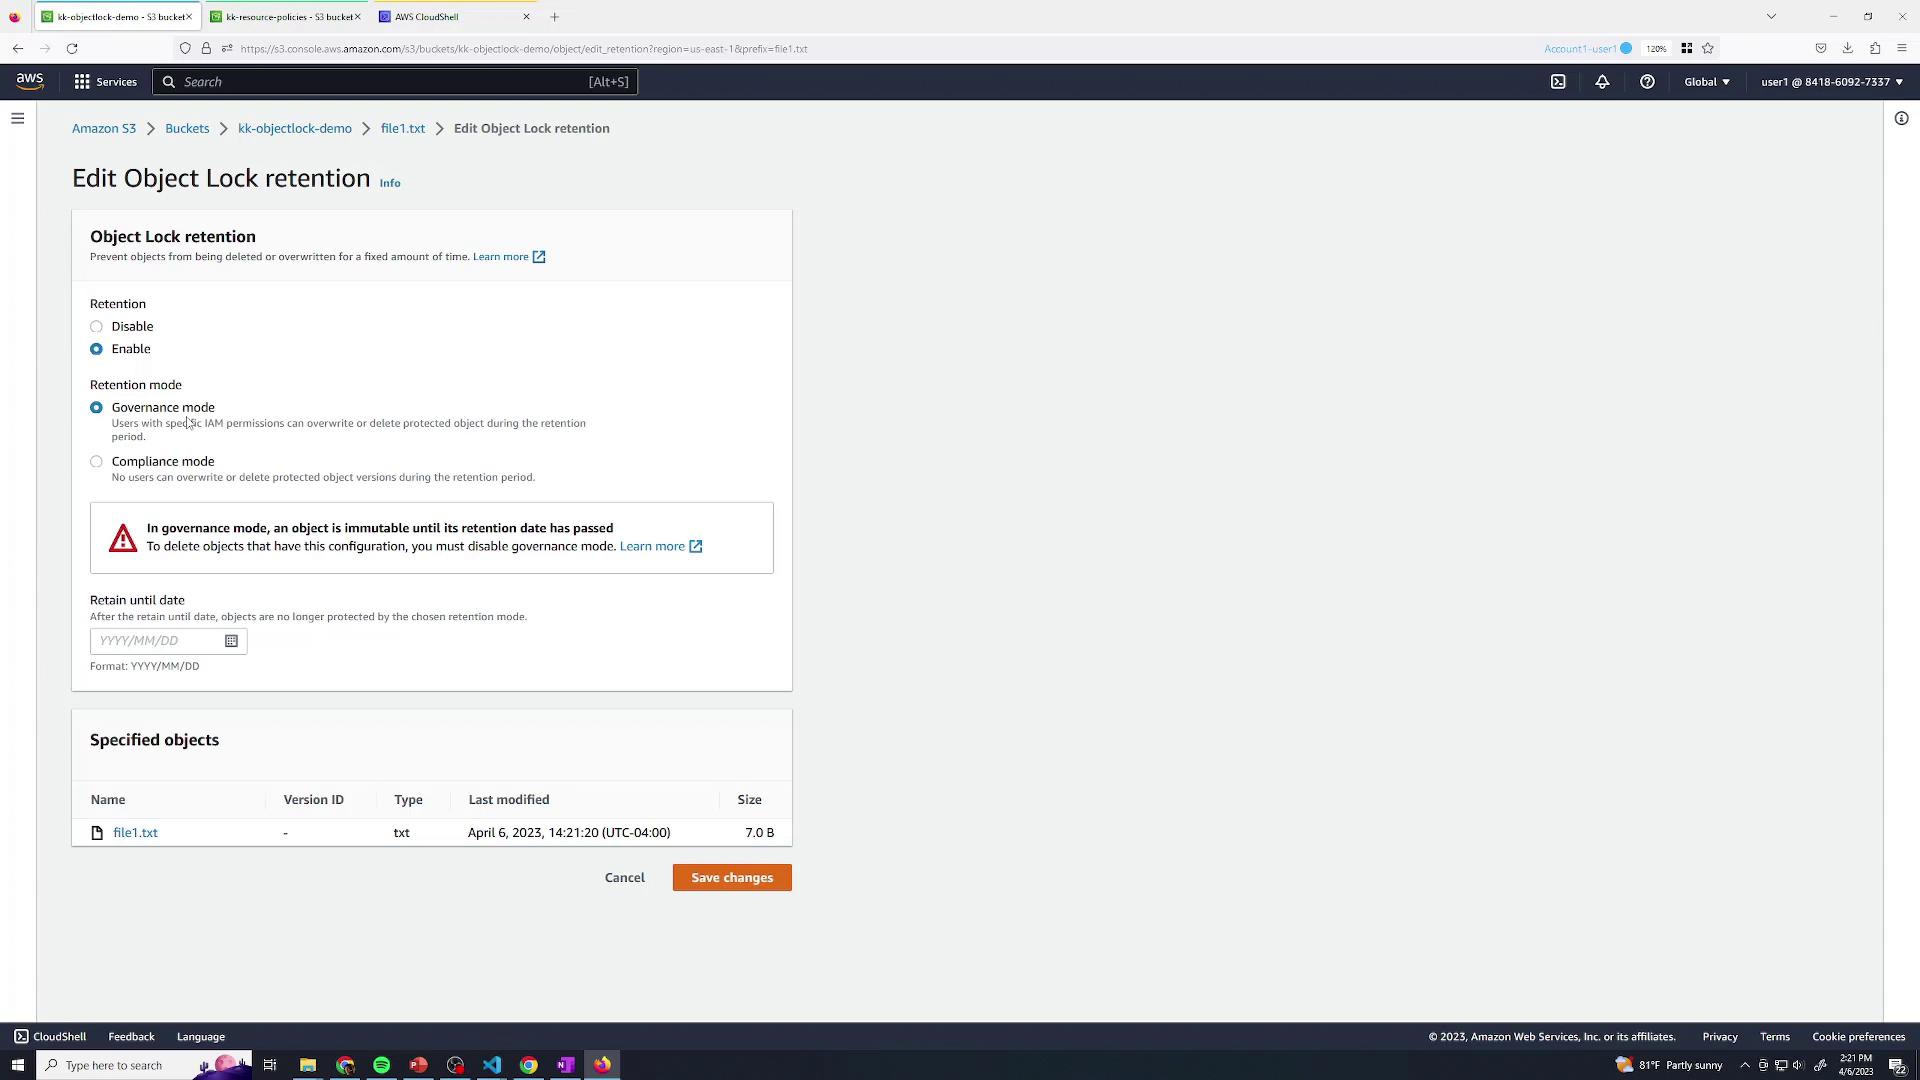
Select Governance mode.
Set the retention date (e.g., tomorrow).
Click Save.
Warning
In Compliance mode, objects cannot be deleted or overwritten until the retention period expires.
4. Test Deletion with a Restricted IAM User
Switch to User Two, who has a policy denying s3:BypassGovernanceRetention. They have full S3 access but cannot bypass governance locks:
{
  "Version": "2012-10-17",
  "Statement": [
    {
      "Sid": "DenyBypassGovernanceRetention",
      "Effect": "Deny",
      "Action": "s3:BypassGovernanceRetention",
      "Resource": "*"
    }
  ]
}
When User Two tries to delete the locked object version, the request fails:
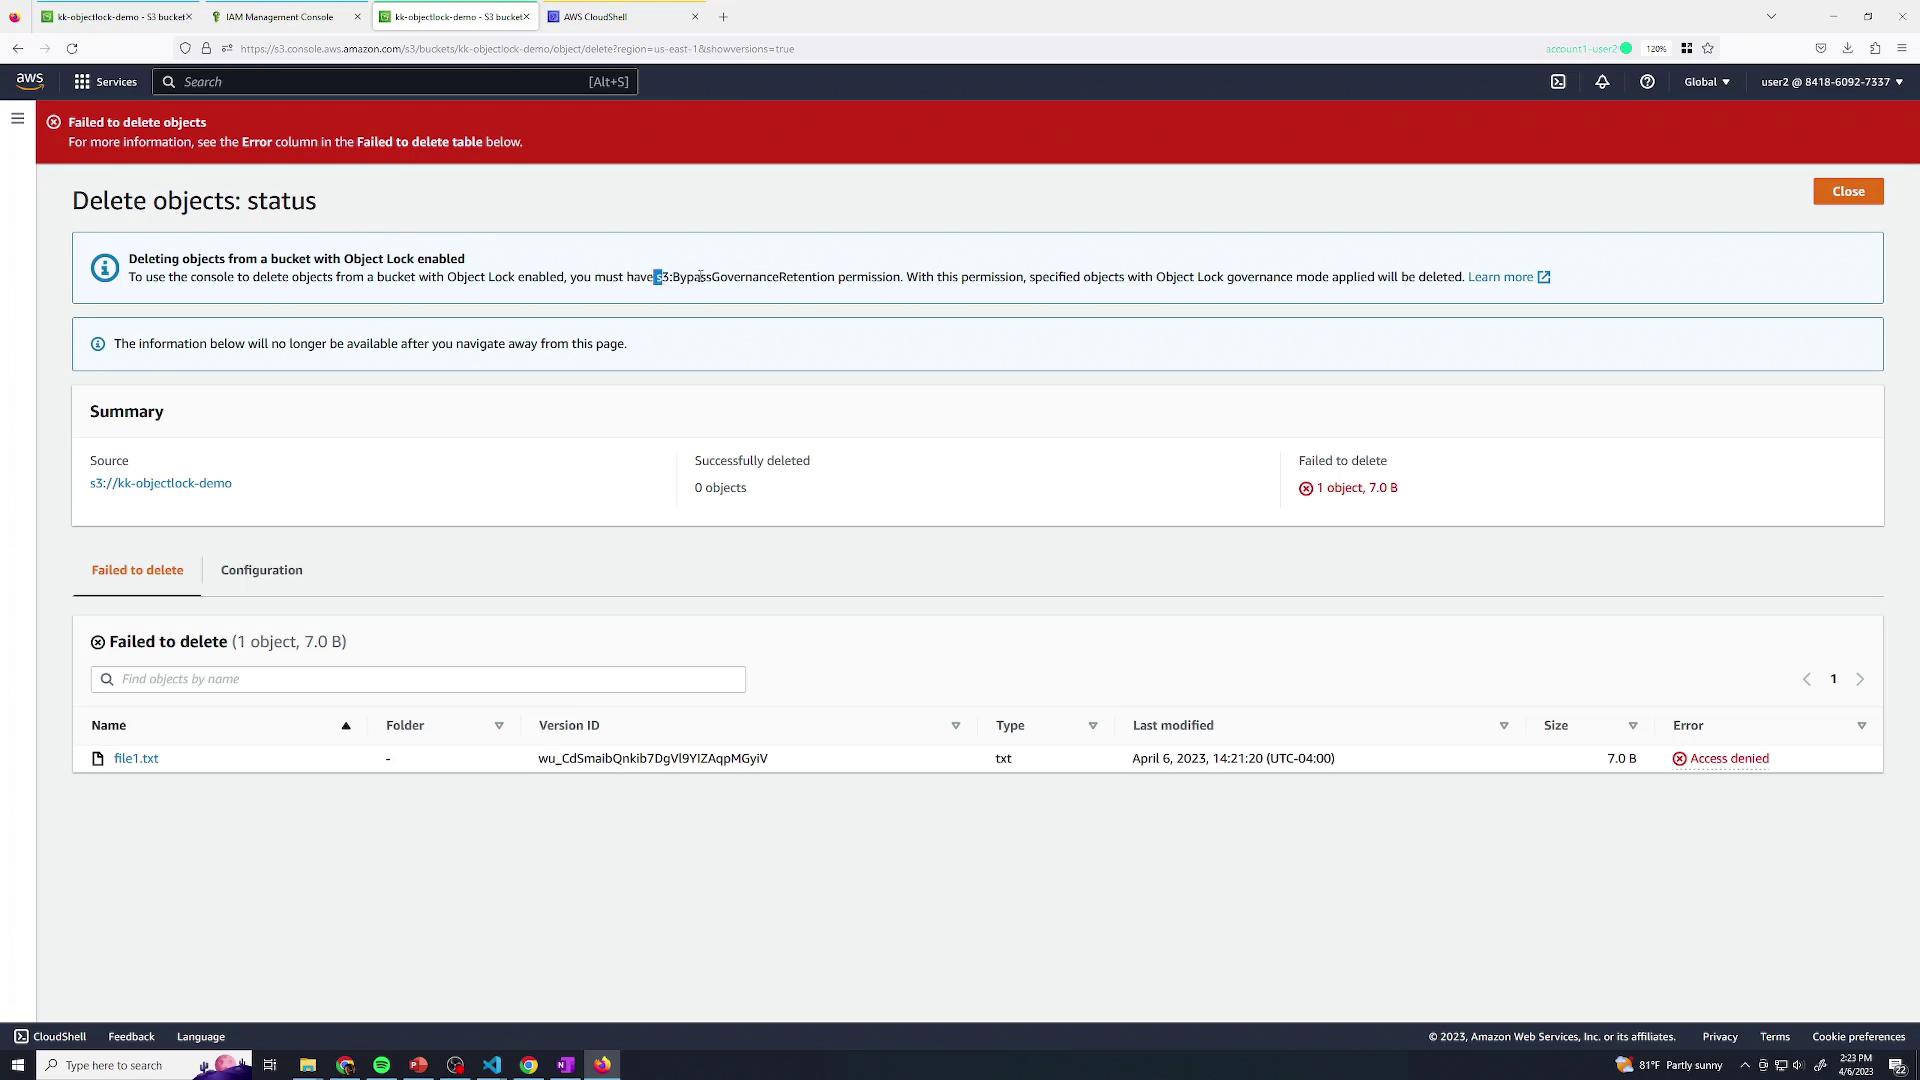
User Two also cannot modify retention settings.
5. Delete with an Admin User
Switch back to User One (Administrator) with full permissions, including s3:BypassGovernanceRetention:
{
  "Version": "2012-10-17",
  "Statement": [
    {
      "Effect": "Allow",
      "Action": "*",
      "Resource": "*"
    }
  ]
}
User One can now permanently delete the locked object version.
6. Demonstrate Object Legal Hold
Upload a second file, e.g.,
file2.txt.Open its Properties and scroll to Object Lock.
Enable Legal Hold, then Save.
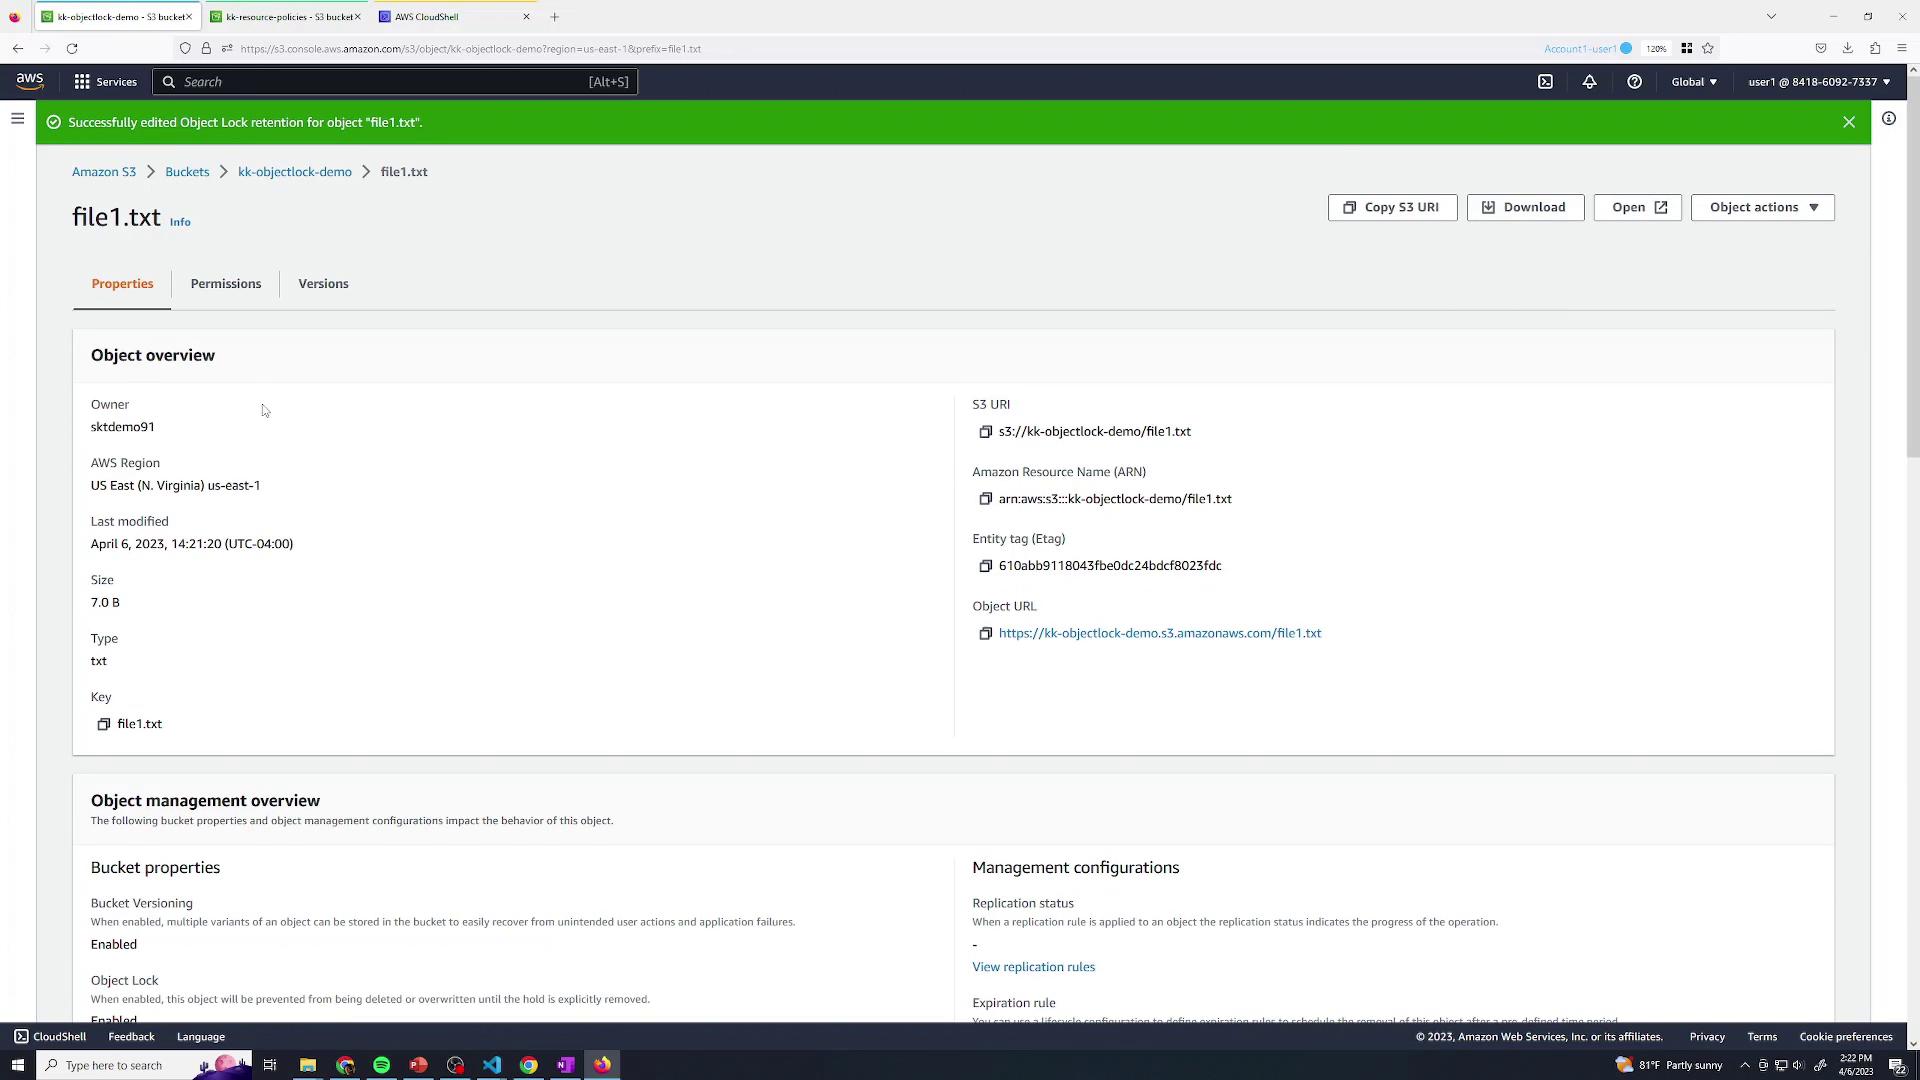
The object is now held indefinitely under Legal Hold.
7. Deny Legal Hold Removal
Update User Two’s policy to also deny s3:PutObjectLegalHold, preventing removal of legal holds:
{
  "Version": "2012-10-17",
  "Statement": [
    {
      "Sid": "DenyLegalHoldAndBypass",
      "Effect": "Deny",
      "Action": [
        "s3:PutObjectLegalHold",
        "s3:BypassGovernanceRetention"
      ],
      "Resource": "*"
    }
  ]
}
Now, when User Two tries to disable the legal hold, they see a permission error:
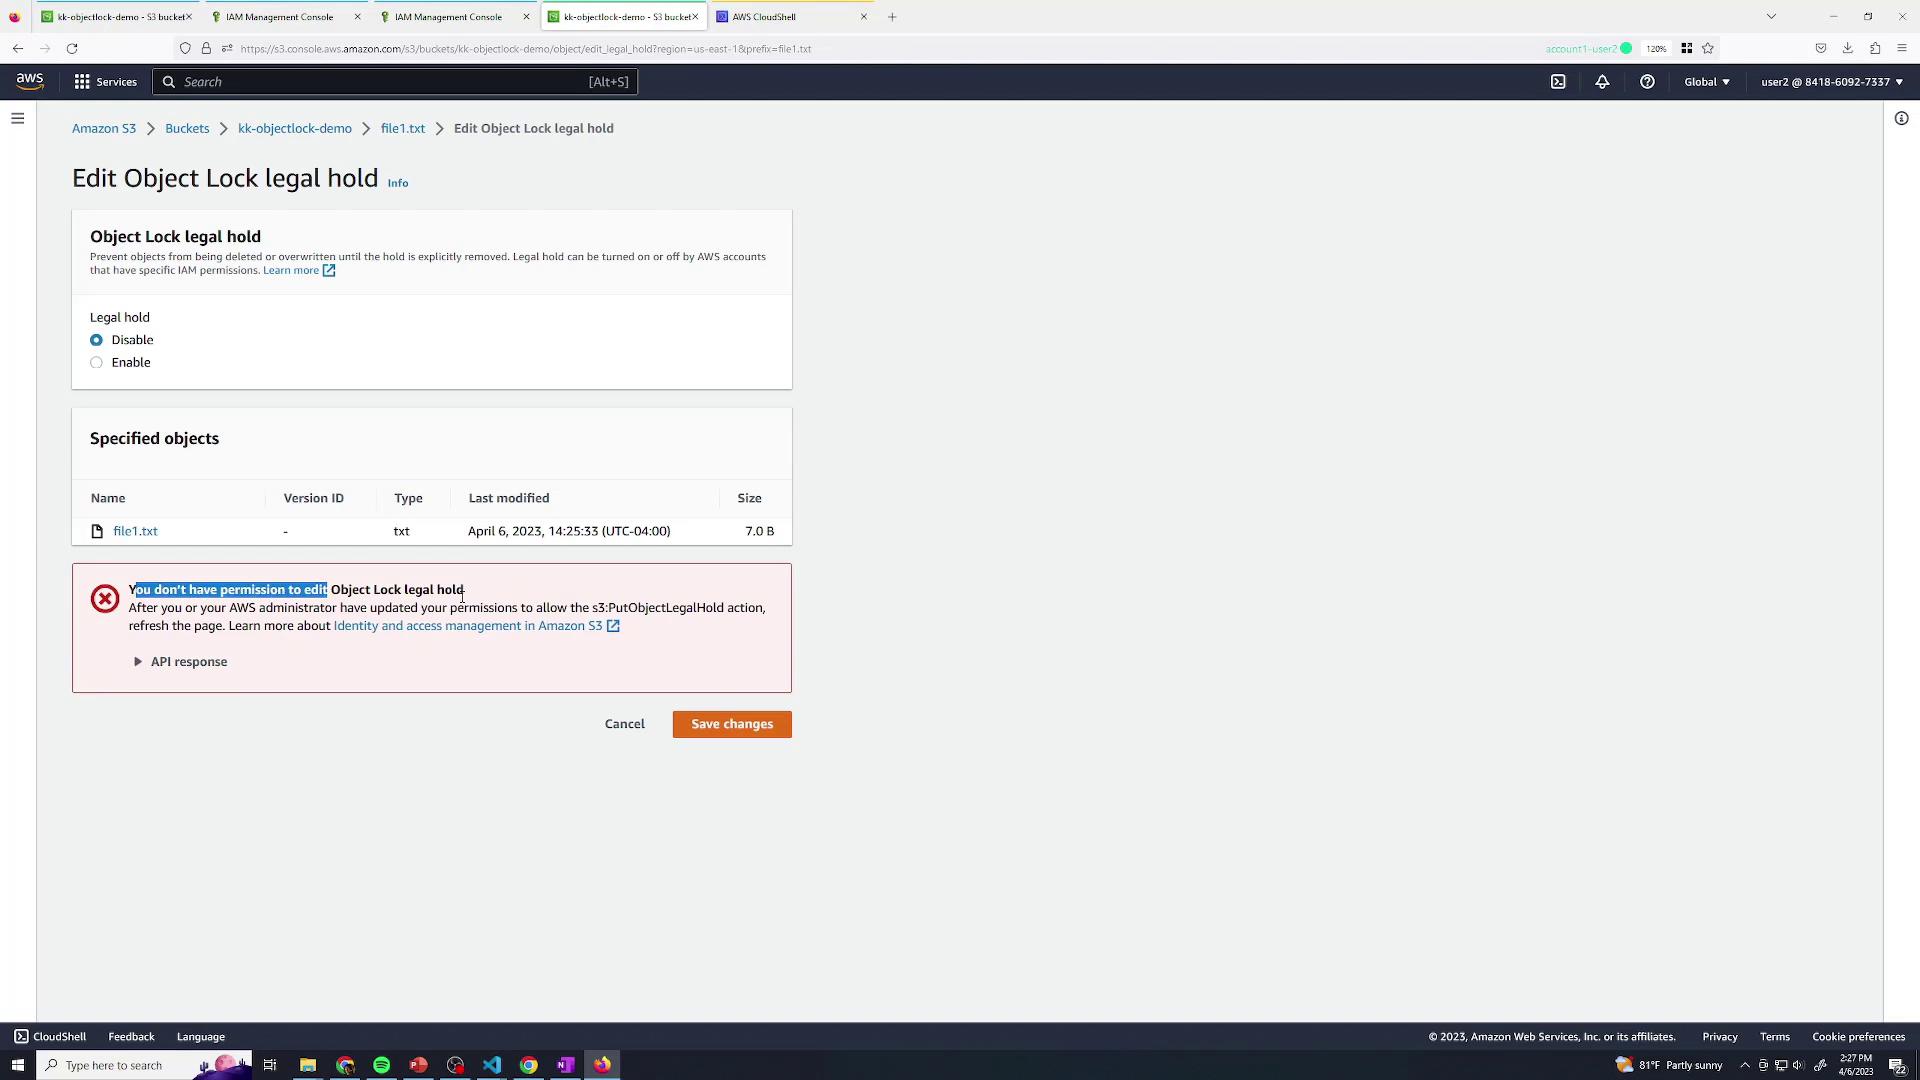
Only users with the correct permissions (e.g., User One) can remove a legal hold.
S3 Access Logs
Amazon S3 server access logging captures detailed records for every request to a bucket, enabling you to audit access, debug issues, and optimize storage. Each operation—such as a GET on file1.txt—generates a log entry that records who accessed the object, when the request occurred, and which API call was performed:
John [06/Feb/2019:00:00:38 +0000] GET /file1.txt
Why Enable Access Logs?
Enabling server access logging provides several advantages:
| Benefit | Description |
| Security & Auditing | Track who accessed objects and when, supporting compliance requirements. |
| Usage Patterns | Analyze request frequency to select the most cost-effective storage class. |
| Centralized Log Storage | Collect logs in a dedicated bucket for easy management and analysis. |
Warning
Storing and analyzing access logs may incur additional storage and request charges. Review your AWS billing dashboard to estimate costs.
What Information Is Logged?
Each log record consists of numerous fields, including:
| Field | Description |
| Bucket owner | AWS account ID of the bucket owner |
| Bucket name | Name of the S3 bucket |
| Timestamp | Date and time of the request (in UTC) |
| Requester IP & ID | Client IP address and AWS user identifier (or - if anonymous) |
| Request ID | Unique ID assigned by S3 for the request |
| Operation | API action (e.g., REST.GET.OBJECT, REST.PUT.OBJECT) |
| Object key & Version | Requested object path and version ID |
| HTTP status & Error | HTTP response code and any error codes |
| Bytes sent & Received | Payload sizes in bytes and response timing |
| User agent | Client application or browser details |
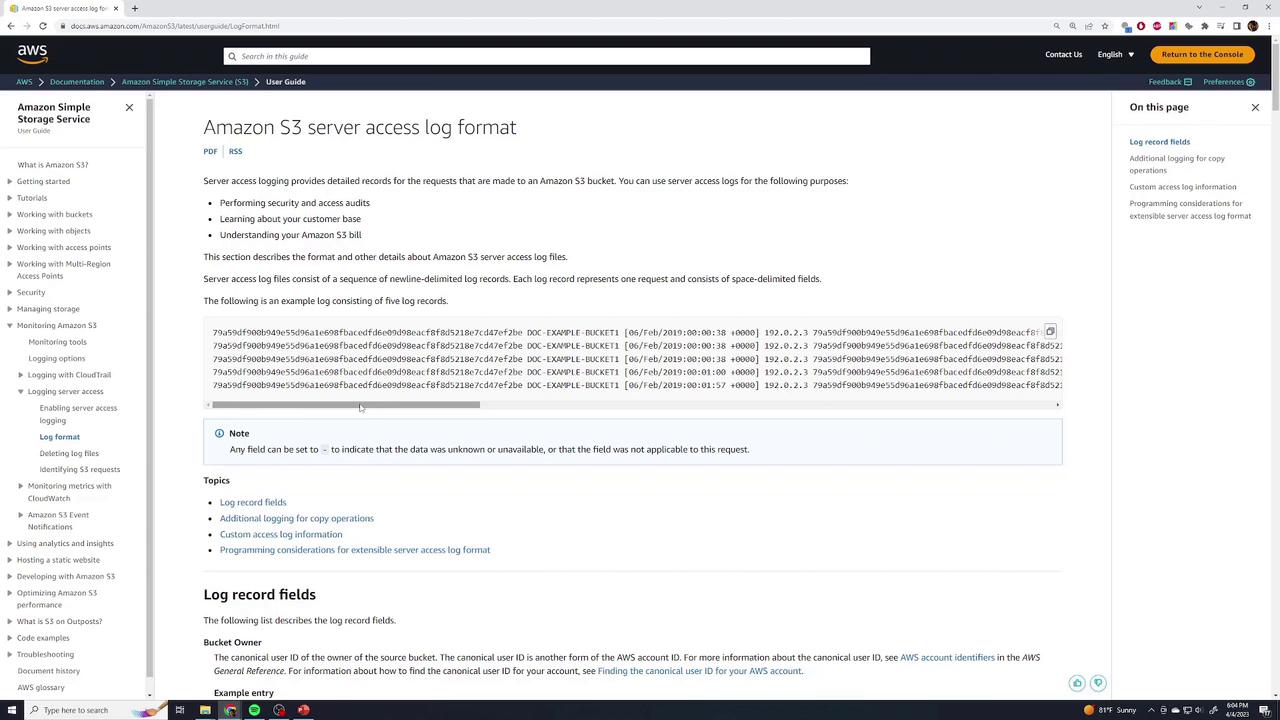
For the complete list of log fields, see Monitoring Amazon S3 > Log Format in the AWS documentation:
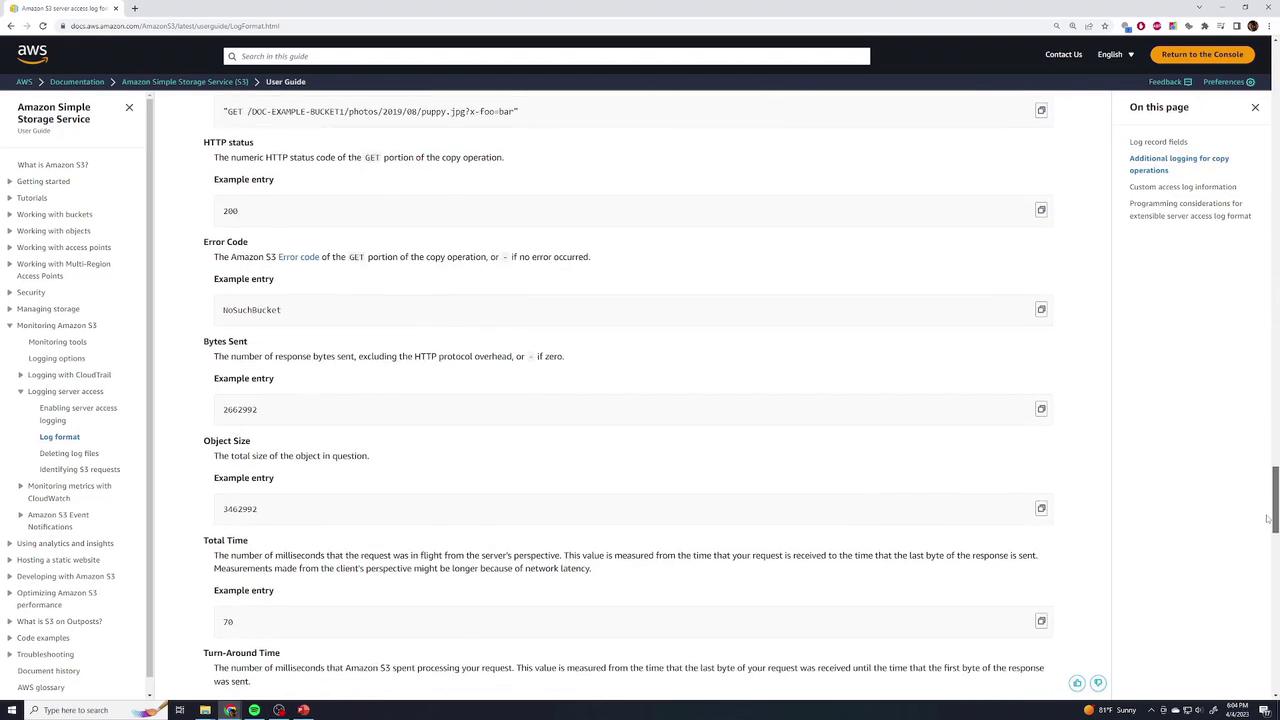
Sample Log Entry
A typical S3 access log record begins with the bucket owner and bucket name, followed by the timestamp and requester details:
1e69f8cfa4d16e09c88f48d218e7c47fe2be DOC-EXAMPLE-BUCKET1 [06/Feb/2019:00:00:38 +0000] 192.0.2.3 79d59f4b900b49e95d5e1a69f8f8c49c8e9e09b0c8af8d218e7c47fe2be 3571 0 0
Subsequent fields describe the operation, request line, status, bytes, and user agent:
b0a88ac8fa921b2c7dfe 3E74277EXAMPLE REST.GET.VERSIONING "GET /DOC-EXAMPLE-BUCKET17/versioning HTTP/1.1" 200 113 "-" "$3Console/0.4" s9i2nYFfP76zVrKcP9<5
b0a88ac8fa921b2c7dfe 89C12E74EXAMPLE REST.GET.LOGGING_STATUS "GET /DOC-EXAMPLE-BUCKET17/logging HTTP/1.1" 200 242 11 "-" "$3Console/0.4" -9xkBeVhWfNxiM2bLxmOk0xq
b0a88ac8fa921b2c7dfe A2401f406E12 REST.GET.BUCKETPOLICY "GET /DOC-EXAMPLE-BUCKET17/policy HTTP/1.1" 404 NoSuchBucketPolicy 29 "-" "$3Console/0.4" -bMBSx0xqo
b0a88ac8fa921b2c7dfe REST.PUT.OBJECT s3-dg.pdf "PUT /DOC-EXAMPLE-BUCKET17/s3-dg.pdf HTTP/1.1" 200 - 28 "-" "$3Console/0.4" 160621Z1v8K1v8
All generated log files are delivered as plain text to your designated logging bucket:
Inventory
Amazon S3 Inventory provides scheduled listings of the objects in your S3 bucket, along with key metadata. You can generate these reports daily or weekly in CSV or Apache Parquet format, simplifying auditing, compliance, and analytics workflows.
What Is Amazon S3 Inventory?
An S3 Inventory report gives you a flat-file listing of all objects and their metadata stored in a bucket. It’s ideal for:
Auditing object-level configurations
Generating cost and usage analytics
Verifying compliance requirements
Bulk operations (e.g., export object keys for processing)
Report Formats and Delivery
You can choose one of two output formats:
| Format | Advantages |
| CSV | Widely supported by spreadsheets and ETL tools |
| Apache Parquet | Optimized for big-data queries (e.g., Amazon Athena) |
Reports are delivered to a destination bucket in the same AWS Region, and you can configure optional encryption and prefix settings.
Note
Inventory reports can take up to 48 hours to appear when first enabled. Plan accordingly before running compliance checks.
Metadata Fields Included
By default, each inventory entry includes the following metadata fields:
| Field | Description |
| Bucket name | The name of the source bucket |
| Object key | The object’s path and file name |
| Version ID | Version identifier (requires versioning) |
| Size | Object size in bytes |
| Last modified | Timestamp of the last modification |
| Storage class | e.g., STANDARD, INTELLIGENT_TIERING |
| Replication status | COMPLETE, PENDING, or FAILED |
| Encryption status | e.g., AES256 or AWS KMS key |
| Object lock status | Holds GOVERNANCE or COMPLIANCE locks |

Refer to the AWS documentation for the full list of available fields.
Configuring S3 Inventory Reports
You can set up an inventory report via the AWS CLI, SDK, or the S3 console. Below is an example using the AWS CLI:
aws s3api put-bucket-inventory-configuration \
  --bucket my-source-bucket \
  --id daily-inventory \
  --inventory-configuration '{
    "Destination": {
      "S3BucketDestination": {
        "AccountId": "123456789012",
        "Bucket": "arn:aws:s3:::my-destination-bucket",
        "Format": "CSV",
        "Prefix": "inventory-reports/"
      }
    },
    "IsEnabled": true,
    "Filter": {
      "Prefix": "data/"
    },
    "IncludedObjectVersions": "All",
    "OptionalFields": [
      "Size",
      "LastModifiedDate",
      "StorageClass",
      "ETag",
      "IsMultipartUploaded",
      "ReplicationStatus"
    ],
    "Schedule": {
      "Frequency": "Daily"
    }
  }'
Warning
If you include VersionId, versioning must be enabled on the source bucket. Otherwise, the report will fail.
Key Configuration Options
Schedule.Frequency:DailyorWeeklyIncludedObjectVersions:AllorCurrentOptionalFields: Add any additional metadata fields you requireDestination.S3BucketDestination.Prefix: Organize reports under a common prefix
Access Points
Access Points streamline and secure Amazon S3 bucket access for multiple teams, applications, and workloads. Instead of a single, complex bucket policy, you can create dedicated Access Points—each with its own ARN and resource policy—to manage permissions at scale.
Note
Access Points work with existing S3 features, including bucket ACLs, public access settings, and server-side encryption.
The Challenge of Complex Bucket Policies
When you have diverse stakeholders sharing one bucket, the policy can balloon:
| Team | Required Permissions | Use Case |
| Developers | s3:PutObject, s3:DeleteObject | Upload and manage application assets |
| Infrastructure | s3:* | Full lifecycle, encryption, and logging |
| Legal | s3:GetObject, s3:ListBucket | Compliance audits and data retrieval |
Every change to a team’s access means editing the monolithic bucket policy, which increases the risk of errors and makes audits difficult.
Introducing Access Points
With S3 Access Points, you assign each team or application its own “window” to the bucket. Each Access Point:
Has a unique ARN (
arn:aws:s3:<region>:<account-id>:accesspoint/<name>)Behaves like an independent bucket
Carries a tailored resource policy
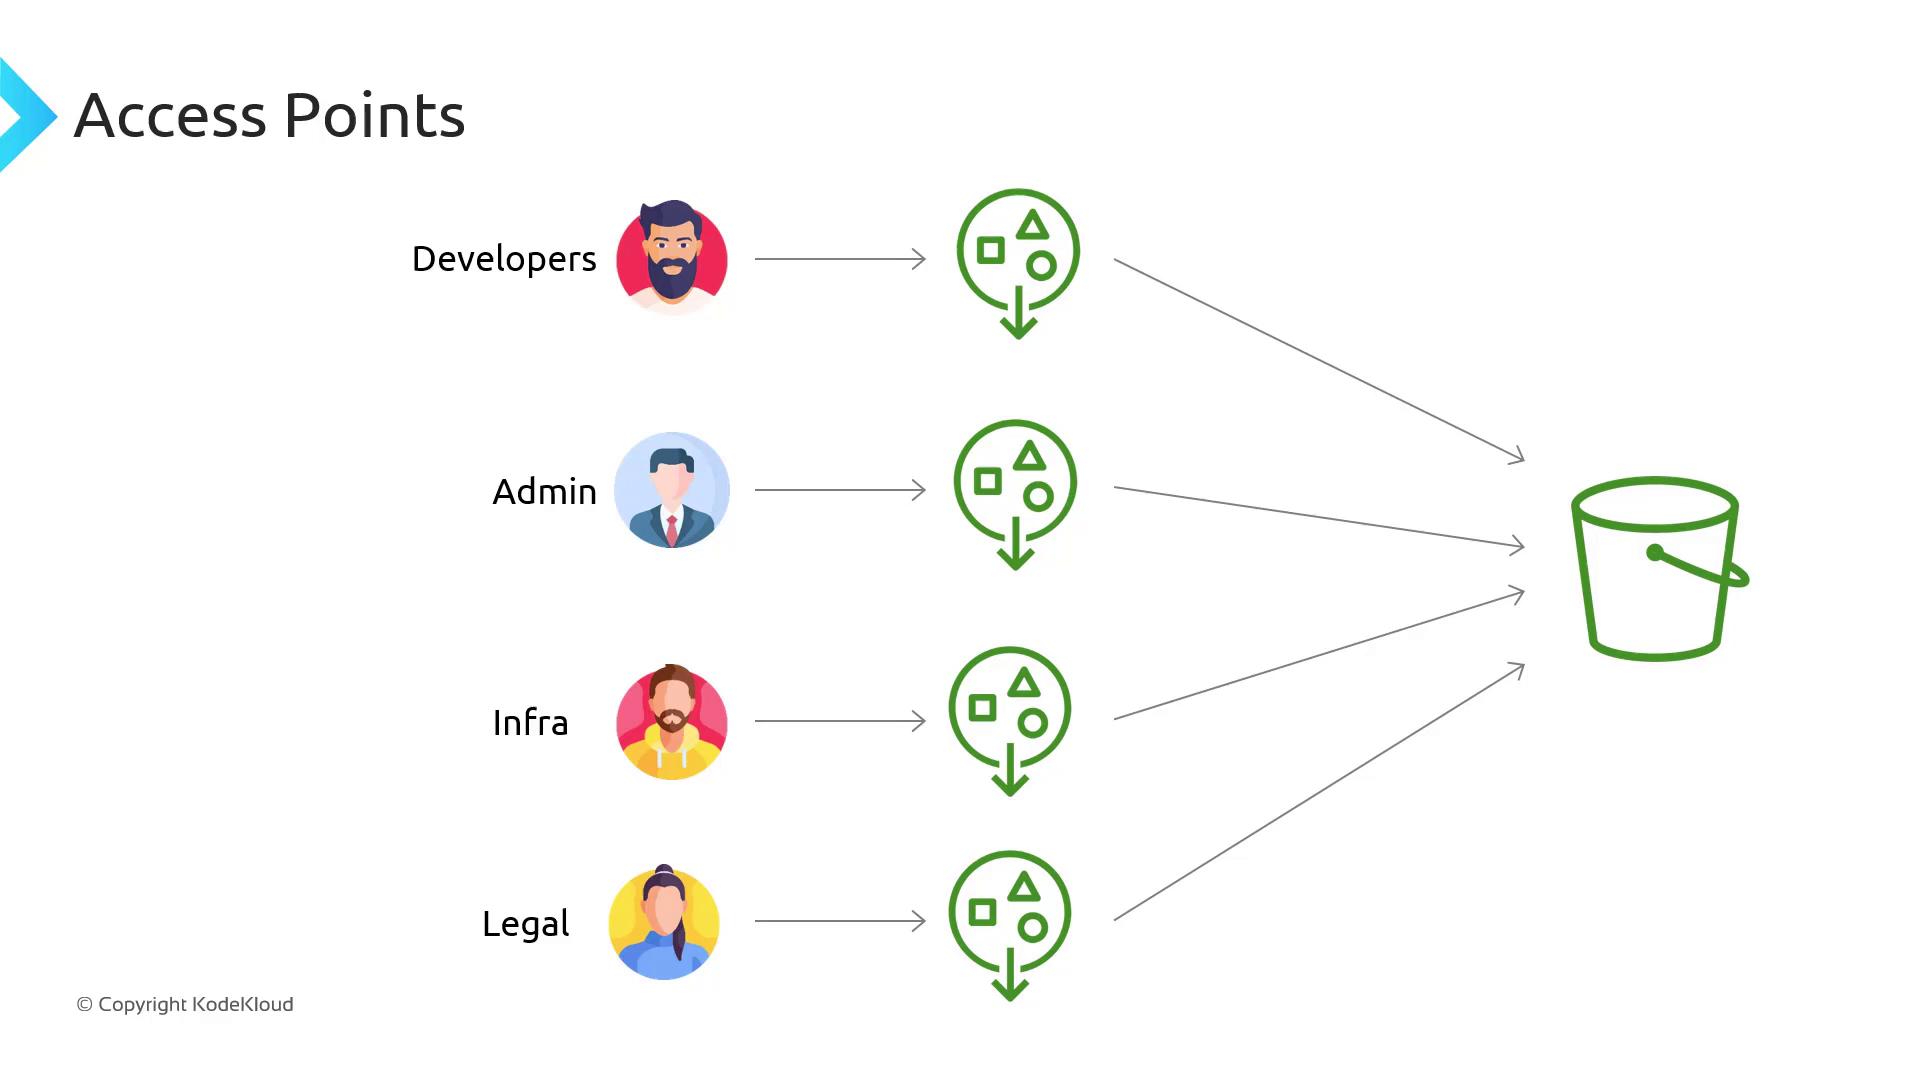
Clients reference the Access Point ARN instead of the bucket ARN, and permissions live closer to the consumer. For example, developers use the developer-ap Access Point ARN with write/delete privileges, while the legal team uses legal-ap with read-only permissions.
Restricting Access by VPC
You can tie an Access Point to a specific VPC Endpoint to enforce network-level boundaries. Bind the Access Point so only resources in your VPC can connect:
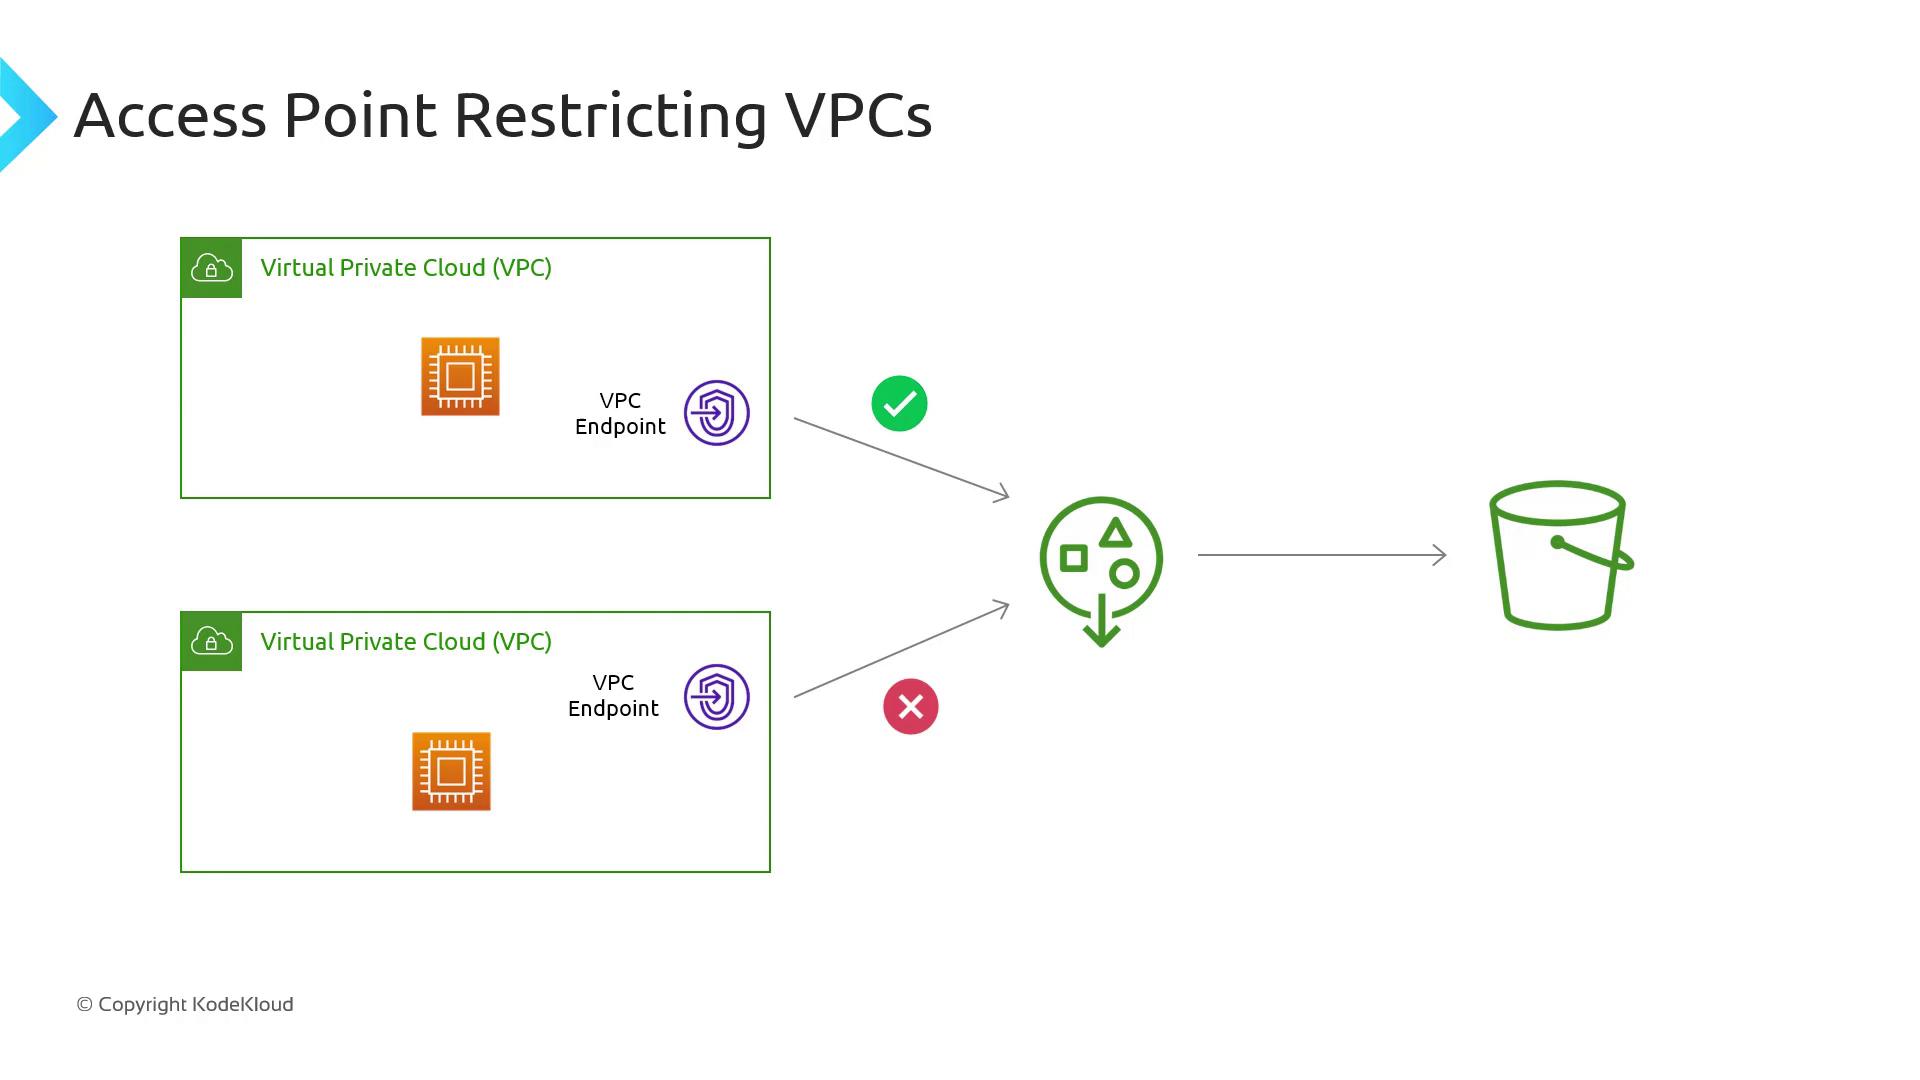
For instance:
VPC A: EC2 instances can access via
ap-vpc-a.All other VPCs: Traffic is blocked by the endpoint policy.
Warning
Ensure your VPC Endpoint policy explicitly grants s3:* actions for the Access Point ARN; otherwise, requests will be denied.
Simplifying Policy Management
Instead of embedding every role’s permissions in the bucket policy, you delegate authority to Access Points with a single bucket policy statement:
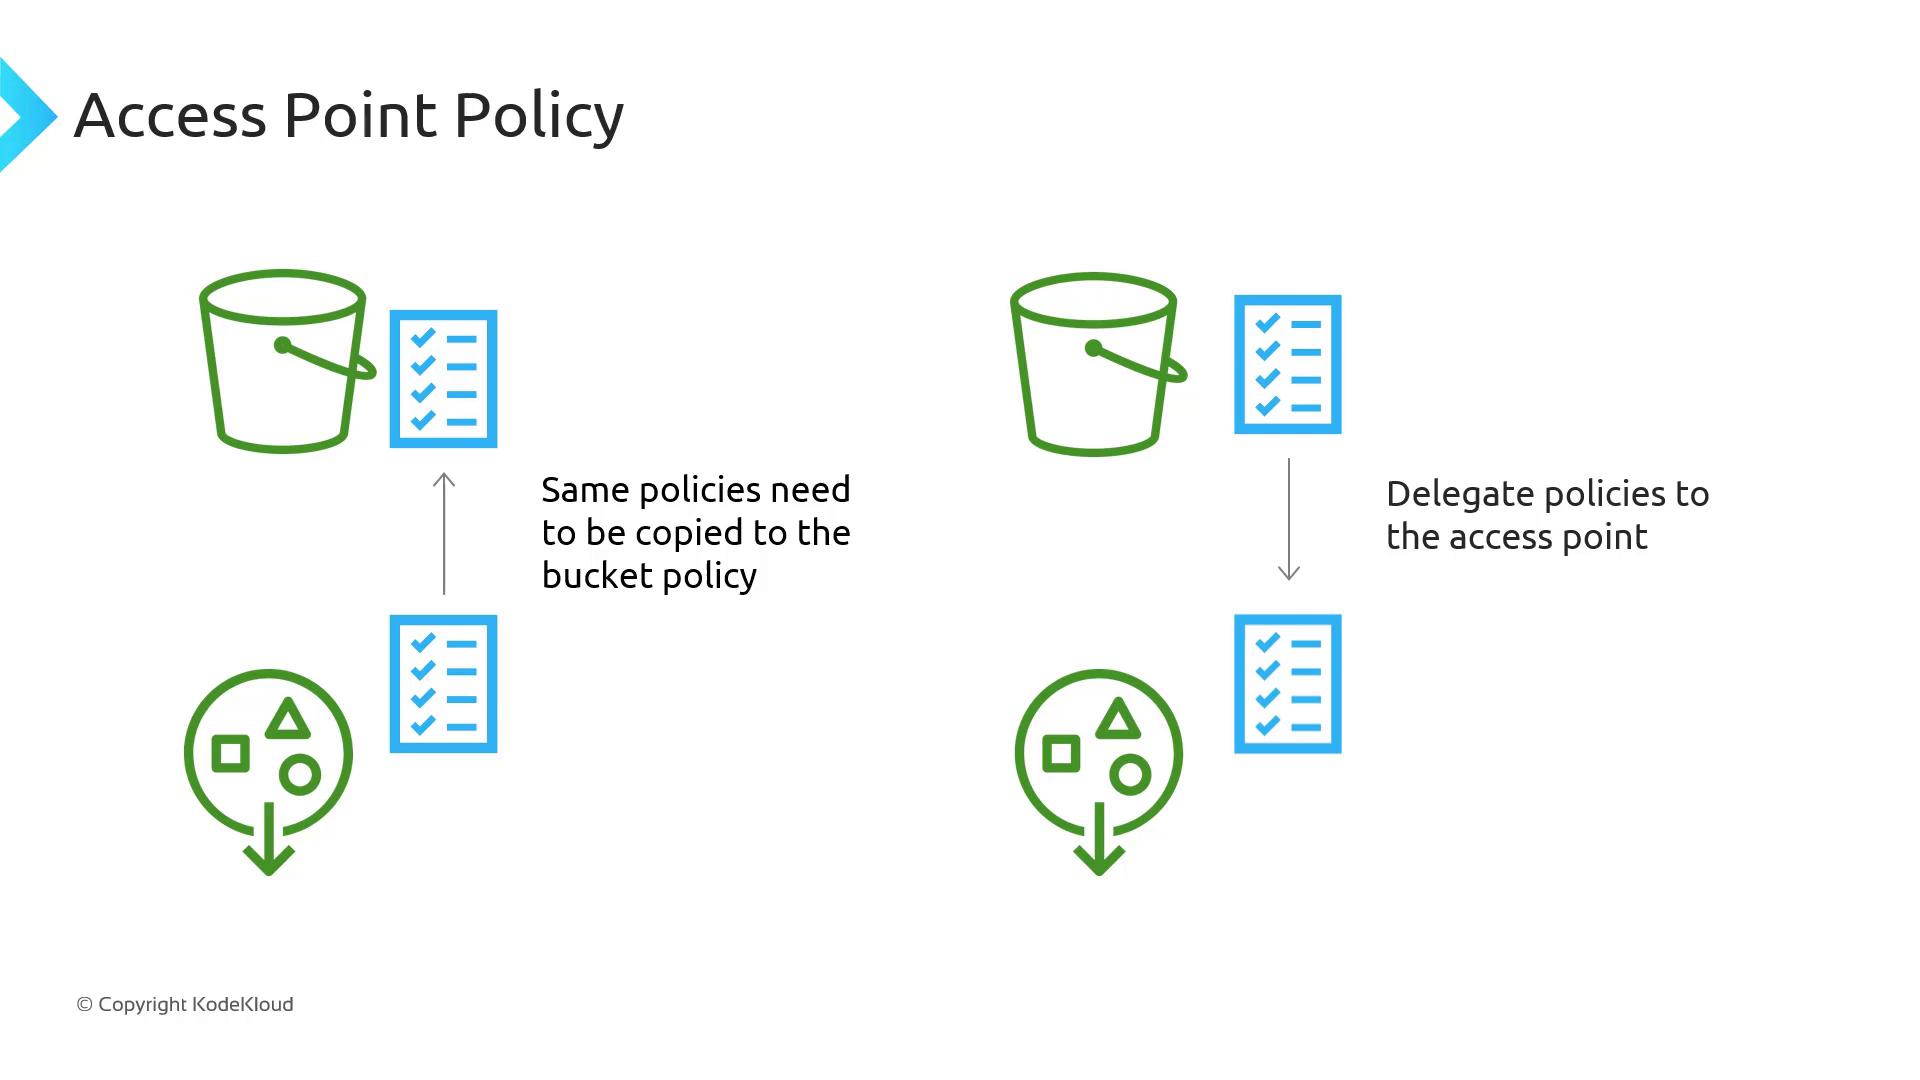
Delegate in the bucket policy to allow S3 actions for any Access Point.
Define fine-grained permissions within each Access Point resource policy.
Example: Delegate List and Get operations for all Access Points in the bucket policy:
{
  "Version": "2012-10-17",
  "Statement": [
    {
      "Sid": "DelegateAccessPointActions",
      "Effect": "Allow",
      "Principal": "*",
      "Action": [
        "s3:ListBucket",
        "s3:GetObject"
      ],
      "Resource": [
        "arn:aws:s3:::my-bucket",
        "arn:aws:s3:::my-bucket/*"
      ],
      "Condition": {
        "StringLike": {
          "aws:PrincipalArn": "arn:aws:s3:us-west-2:123456789012:accesspoint/*"
        }
      }
    }
  ]
}
Then, move user- or group-specific permissions into each Access Point policy. Example for a developer Access Point:
{
  "Version": "2012-10-17",
  "Statement": [
    {
      "Effect": "Allow",
      "Principal": {
        "AWS": "arn:aws:iam::123456789012:role/Developer"
      },
      "Action": [
        "s3:PutObject",
        "s3:DeleteObject"
      ],
      "Resource": "arn:aws:s3:us-west-2:123456789012:accesspoint/developer-ap/object/*"
    }
  ]
}
With this approach, you only update the bucket policy once. All subsequent permission changes happen at the Access Point level, making management and compliance audits far simpler.
Demo Access Points
In this tutorial, you’ll learn how to use Amazon S3 Access Points to delegate and isolate access control for different teams. By the end, you will have configured two access points—one for developers and one for finance each with its own fine-grained policy.
1. Create a Demo Bucket
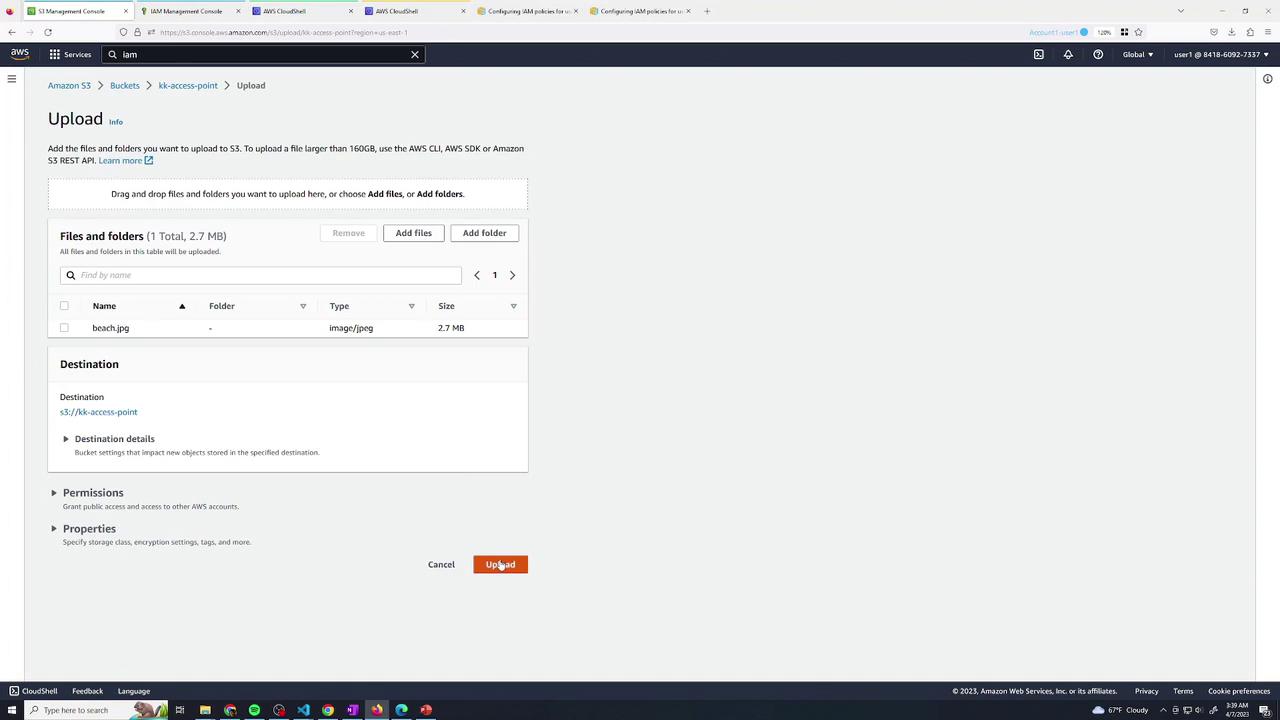
First, set up a new S3 bucket named kk-accesspoint with the default settings. Then upload a sample file (beach.jpg) for testing.
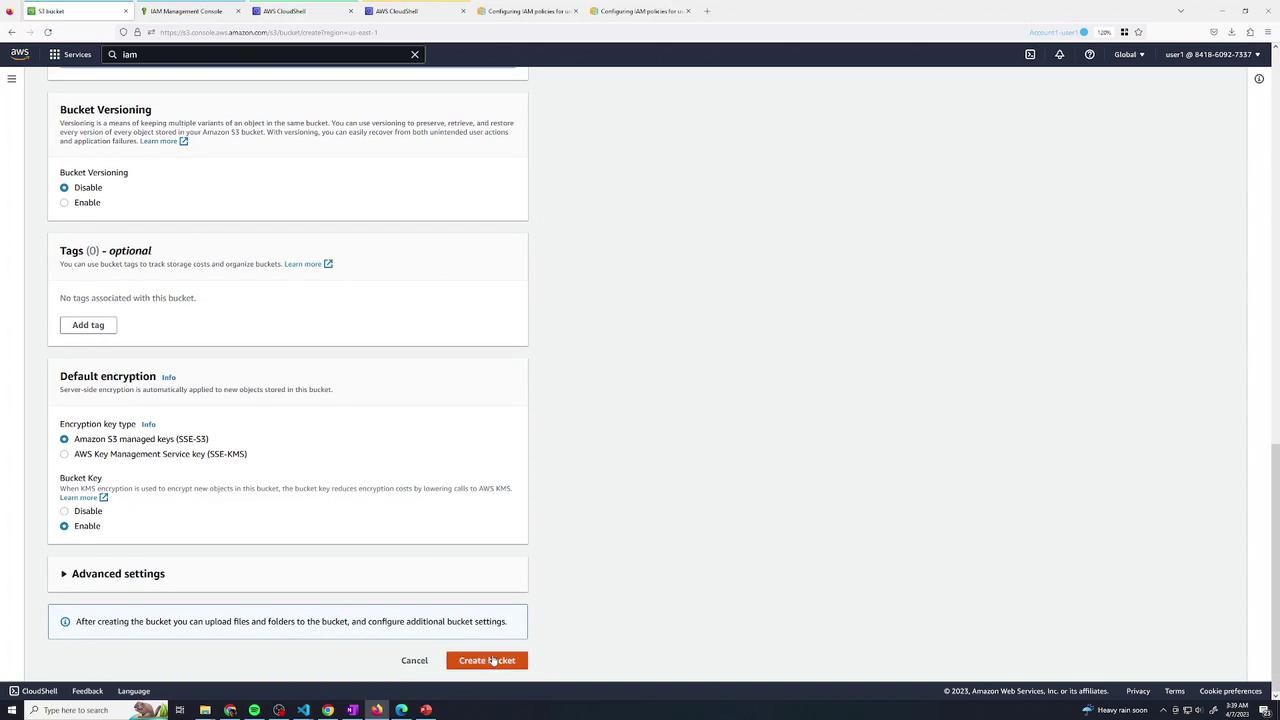
Upload your test asset:
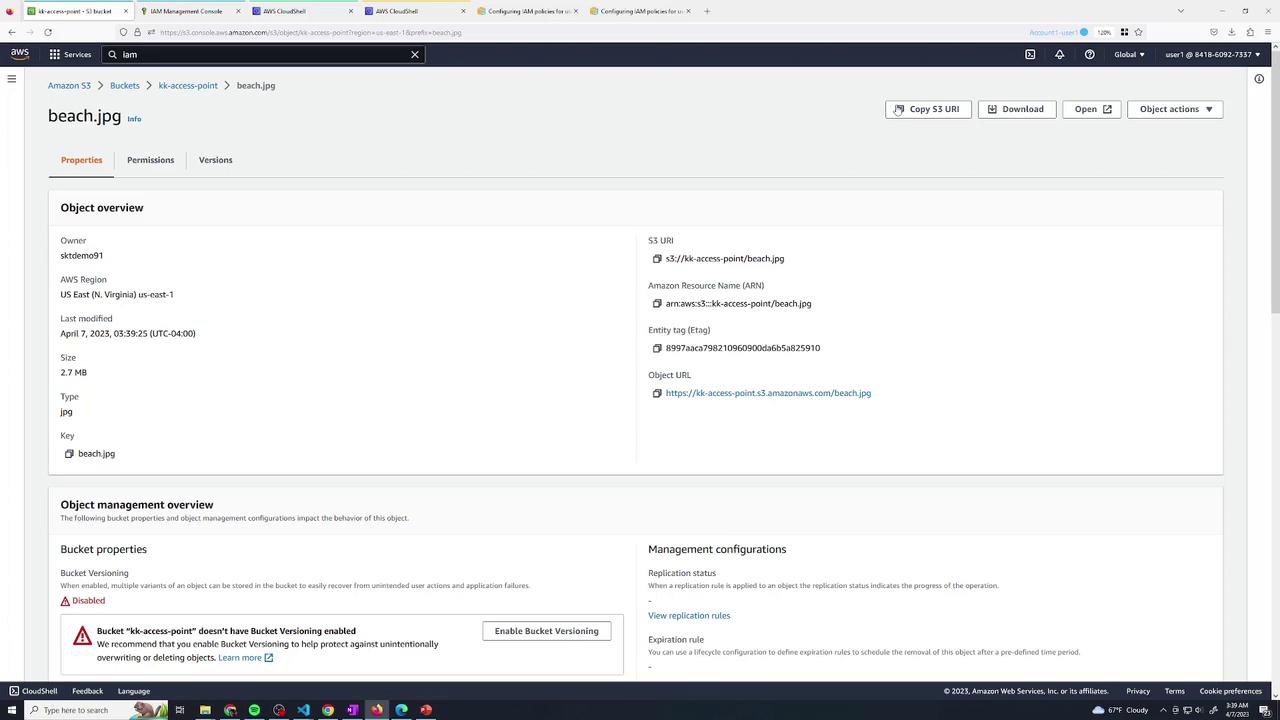
Once uploaded, as the bucket owner (user1), you can view the object details:
Best Practice
Consider enabling versioning and default encryption on production buckets to protect against accidental data loss or unauthorized access.
2. Verify Default Access for Other Users
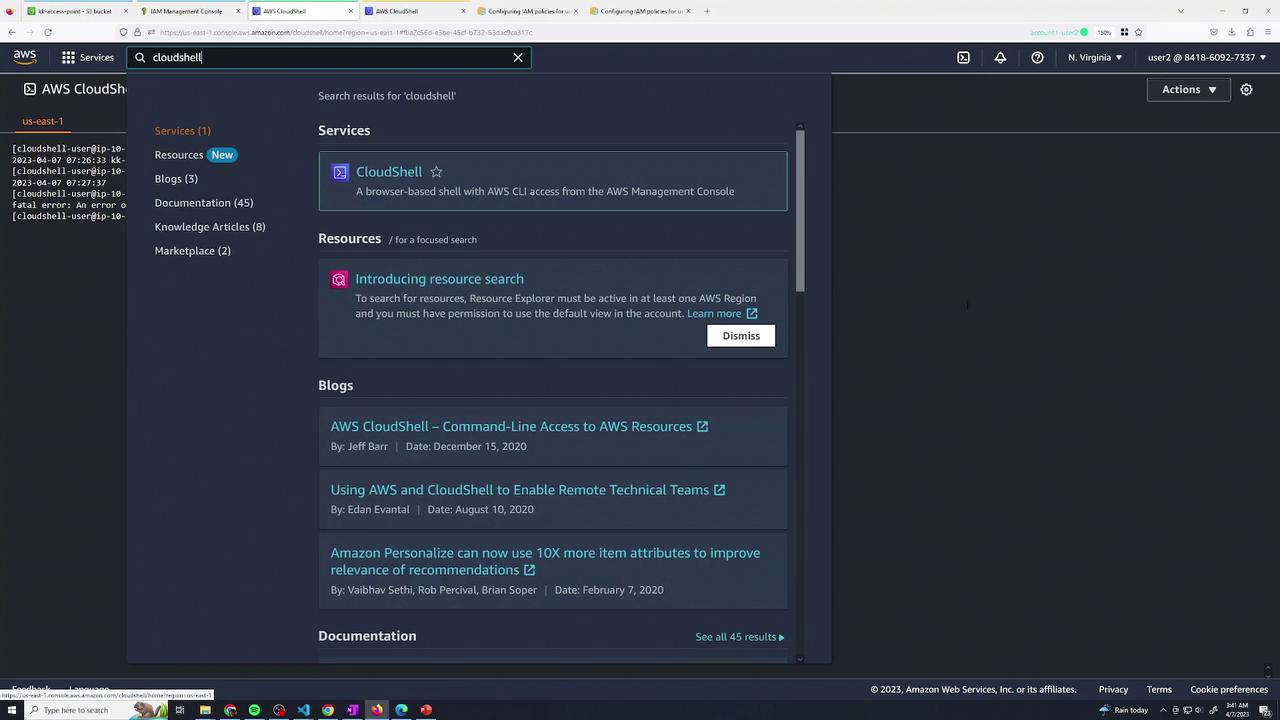
Assume two IAM users—user2 and user3—each have only CloudShell access. By default, neither can list or retrieve objects from your new bucket.
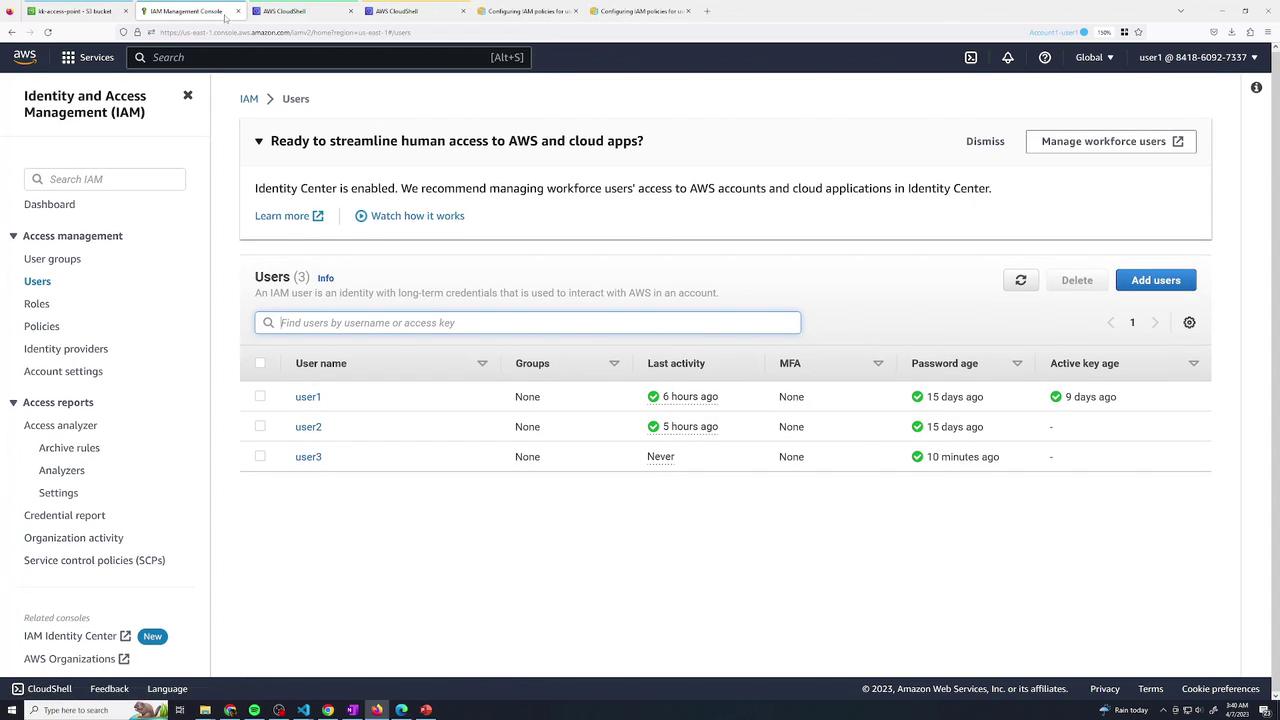
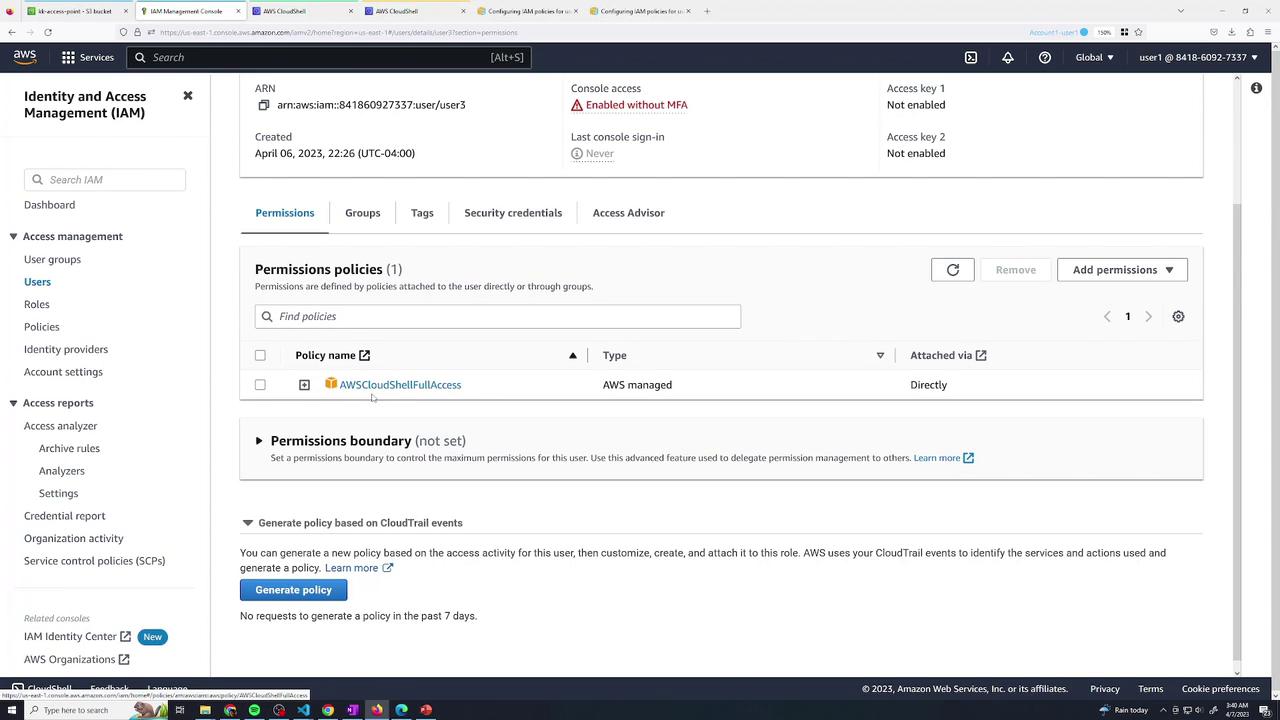
In AWS CloudShell, both users attempt to list and copy objects:
# As user2
[cloudshell-user@ip-... ~]$ aws s3 ls s3://kk-accesspoint/
fatal error: An error occurred (AccessDenied) when calling the ListObjectsV2 operation: Access Denied
[cloudshell-user@ip-... ~]$ aws s3 cp s3://kk-accesspoint/beach.jpg .
fatal error: An error occurred (403) when calling the HeadObject operation: Forbidden


# As user3
[cloudshell-user@ip-... ~]$ aws s3 ls s3://kk-accesspoint/
fatal error: An error occurred (AccessDenied) when calling the ListObjectsV2 operation: Access Denied
[cloudshell-user@ip-... ~]$ aws s3 cp s3://kk-accesspoint/beach.jpg .
fatal error: An error occurred (403) when calling the HeadObject operation: Forbidden
3. Create Access Points
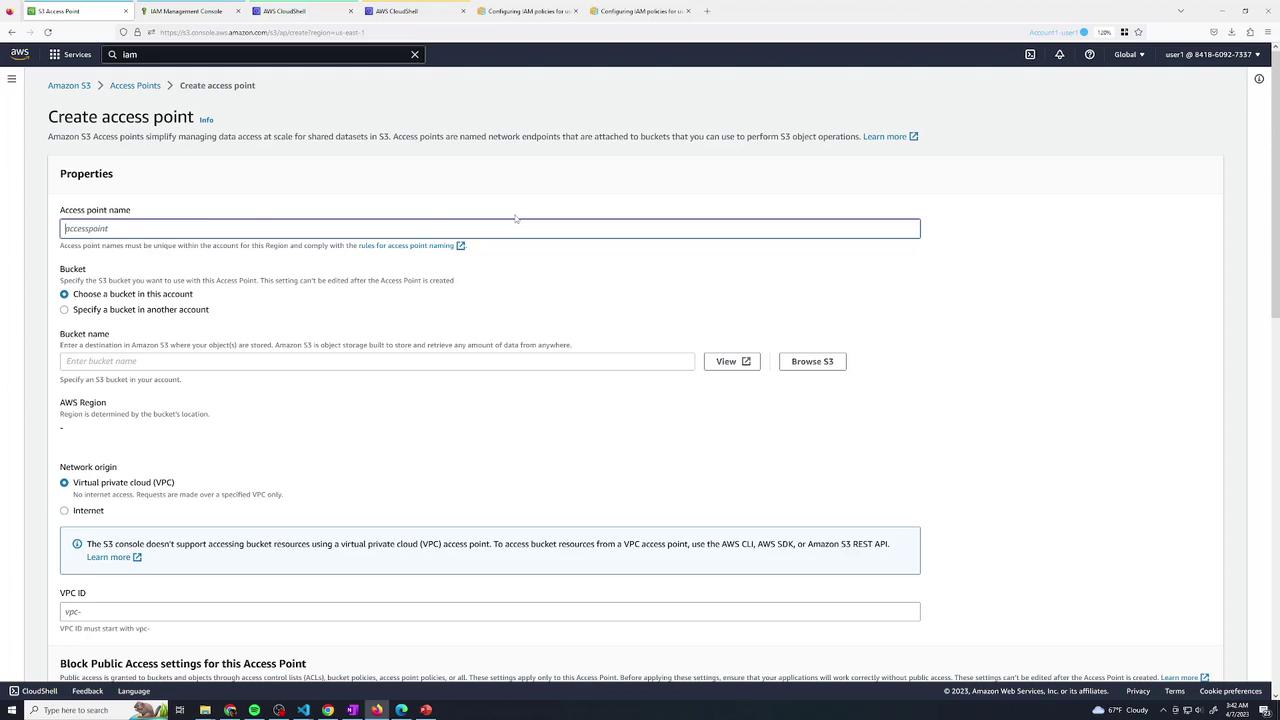
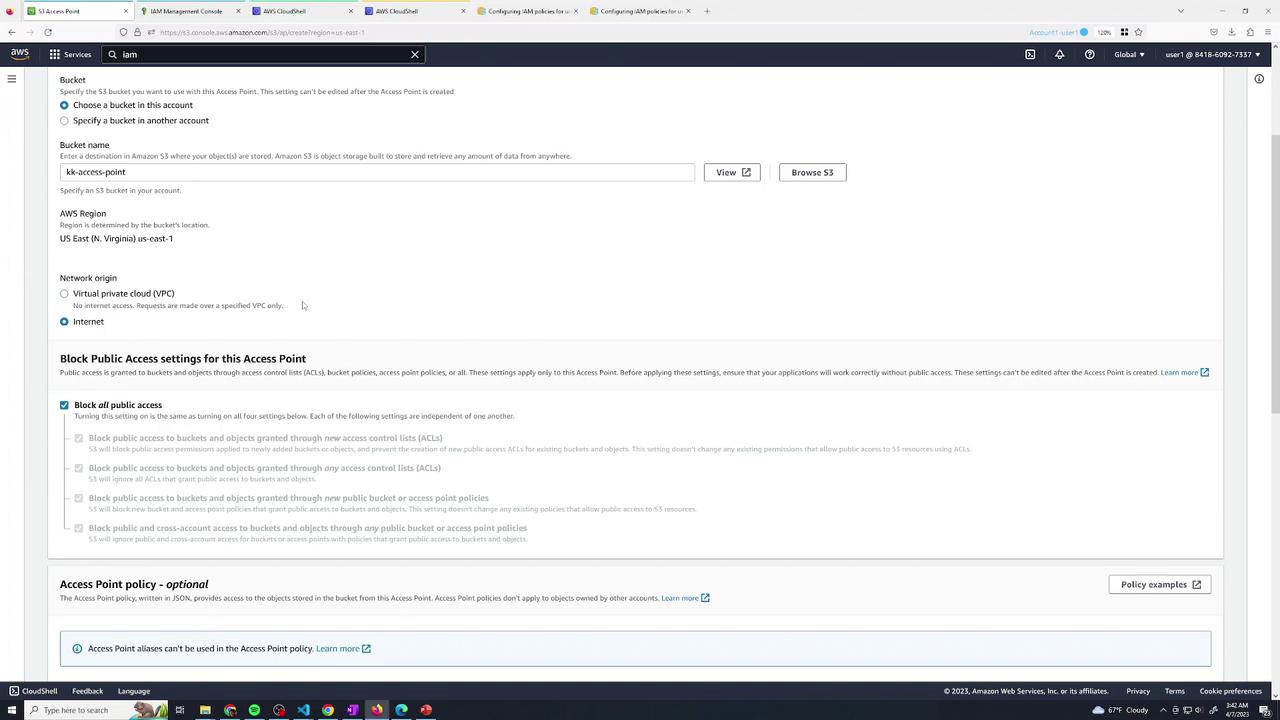
Navigate to Amazon S3 → Access points and create two points:
developers (for user2)
finance (for user3)
Select kk-accesspoint as the data source, choose Internet for Network origin, and keep public access blocking enabled.
Public Access
Always keep Block all public access enabled on buckets and access points to prevent accidental exposure.
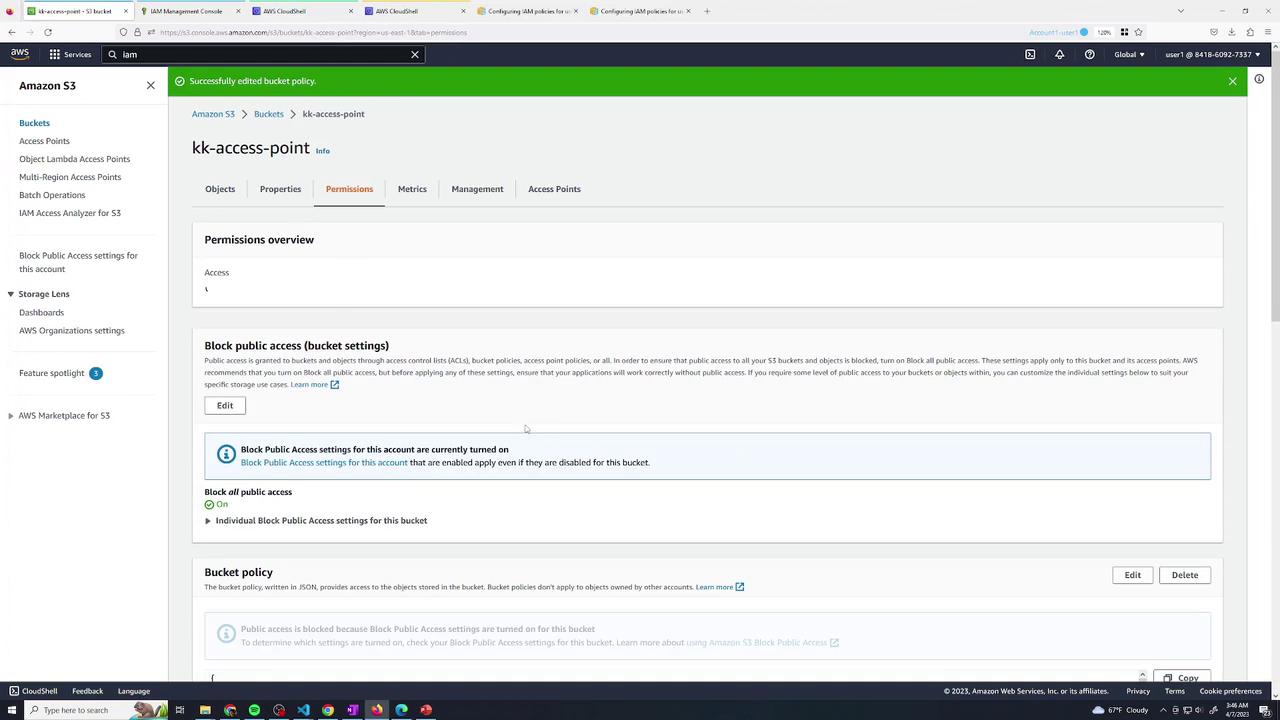
4. Delegate Bucket Permissions to Access Points
To let your access points list bucket contents, add this bucket policy. Replace 123456789012 with your AWS account ID:
{
  "Version": "2012-10-17",
  "Statement": [
    {
      "Effect": "Allow",
      "Principal": "*",
      "Action": "s3:ListBucket",
      "Resource": "arn:aws:s3:::kk-accesspoint",
      "Condition": {
        "StringEquals": {
          "s3:DataAccessPointAccount": "123456789012"
        }
      }
    }
  ]
}
Apply under Bucket → Permissions → Bucket policy:
5. Define Access Point Policies
5.1 Developer Access Point Policy
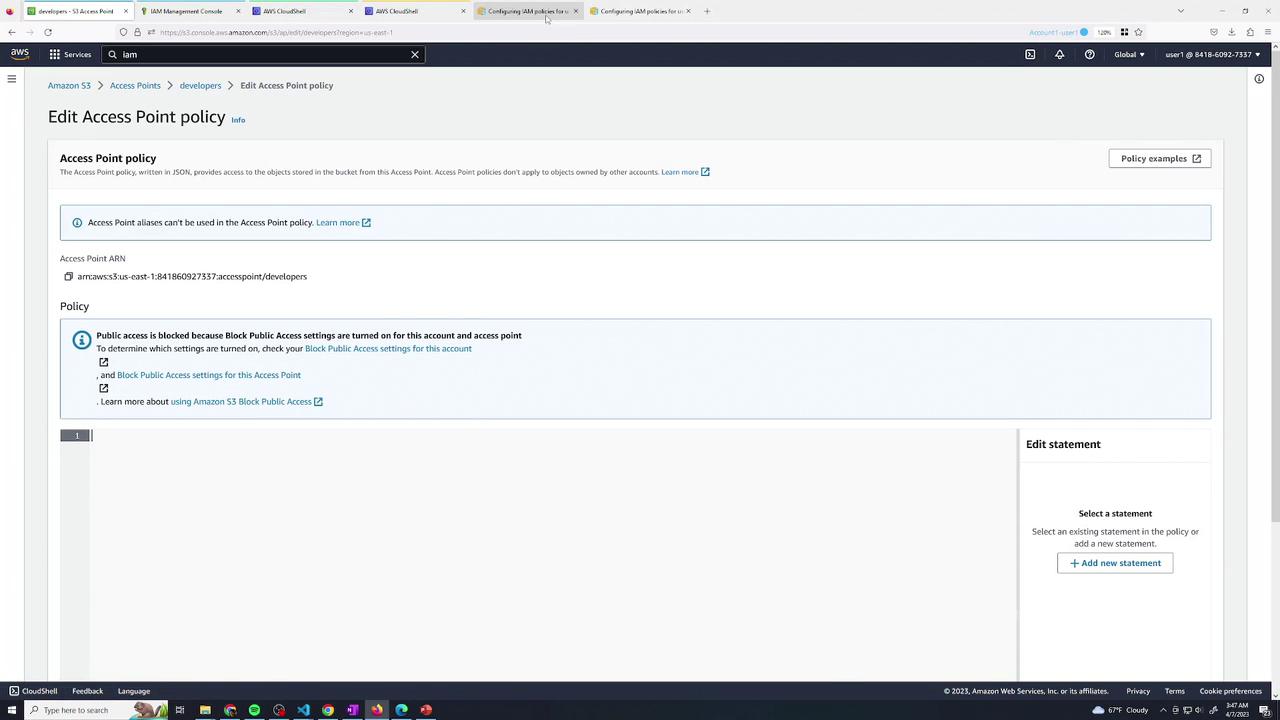
Go to Access points → developers → Permissions → Edit and paste:
{
  "Version": "2012-10-17",
  "Statement": [
    {
      "Effect": "Allow",
      "Principal": {
        "AWS": "arn:aws:iam::123456789012:user/user2"
      },
      "Action": [
        "s3:ListBucket",
        "s3:GetObject",
        "s3:PutObject"
      ],
      "Resource": [
        "arn:aws:s3:us-east-1:123456789012:accesspoint/developers",
        "arn:aws:s3:us-east-1:123456789012:accesspoint/developers/object/*"
      ]
    }
  ]
}
5.2 Finance Access Point Policy
For finance, allow user3:
{
  "Version": "2012-10-17",
  "Statement": [
    {
      "Effect": "Allow",
      "Principal": {
        "AWS": "arn:aws:iam::123456789012:user/user3"
      },
      "Action": [
        "s3:ListBucket",
        "s3:GetObject",
        "s3:PutObject"
      ],
      "Resource": [
        "arn:aws:s3:us-east-1:123456789012:accesspoint/finance",
        "arn:aws:s3:us-east-1:123456789012:accesspoint/finance/object/*"
      ]
    }
  ]
}
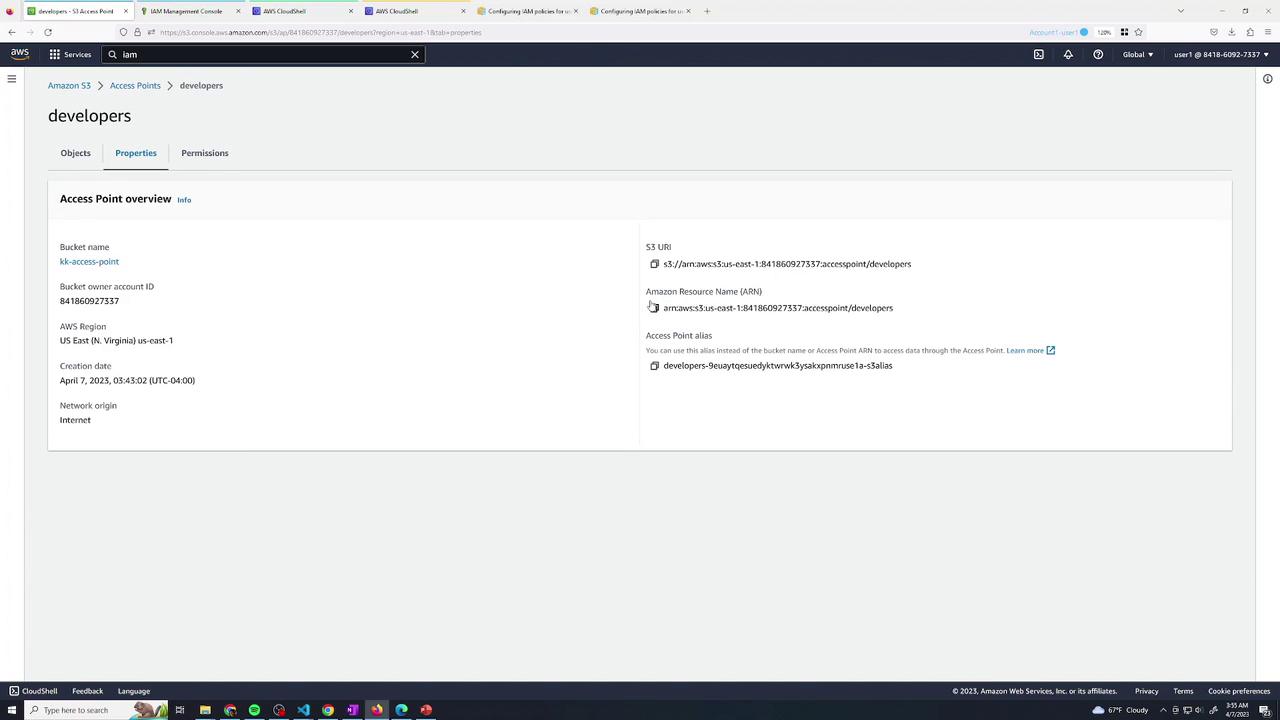
After saving, review each access point’s overview:
Access Point Summary
| Access Point | Principal | Actions |
| developers | arn:aws:iam::123456789012:user/user2 | List, GetObject, PutObject |
| finance | arn:aws:iam::123456789012:user/user3 | List, GetObject, PutObject |
6. Test Access via Access Points
6.1 Developer (user2)
In AWS CloudShell as user2, list and copy via the developers access point ARN:
# List via developers access point
[cloudshell-user@... ~]$ aws s3 ls s3://arn:aws:s3:us-east-1:123456789012:accesspoint/developers
2023-09-04 07:39:25    2879314 beach.jpg


# Download the object
[cloudshell-user@... ~]$ aws s3 cp s3://arn:aws:s3:us-east-1:123456789012:accesspoint/developers/beach.jpg .
6.2 Finance (user3)
As user3, perform the same steps and upload a new file:
# List via finance access point
[cloudshell-user@... ~]$ aws s3 ls s3://arn:aws:s3:us-east-1:123456789012:accesspoint/finance
2023-09-04 07:39:25    2879314 beach.jpg


# Download the object
[cloudshell-user@... ~]$ aws s3 cp s3://arn:aws:s3:us-east-1:123456789012:accesspoint/finance/beach.jpg .


# Upload a test file
[cloudshell-user@... ~]$ touch test1
[cloudshell-user@... ~]$ aws s3 cp test1 s3://arn:aws:s3:us-east-1:123456789012:accesspoint/finance/test1


# Verify both files
[cloudshell-user@... ~]$ aws s3 ls s3://arn:aws:s3:us-east-1:123456789012:accesspoint/finance
2023-09-04 07:39:25    2879314 beach.jpg
2023-09-04 07:40:10         0 test1
7. Final Permissions Overview
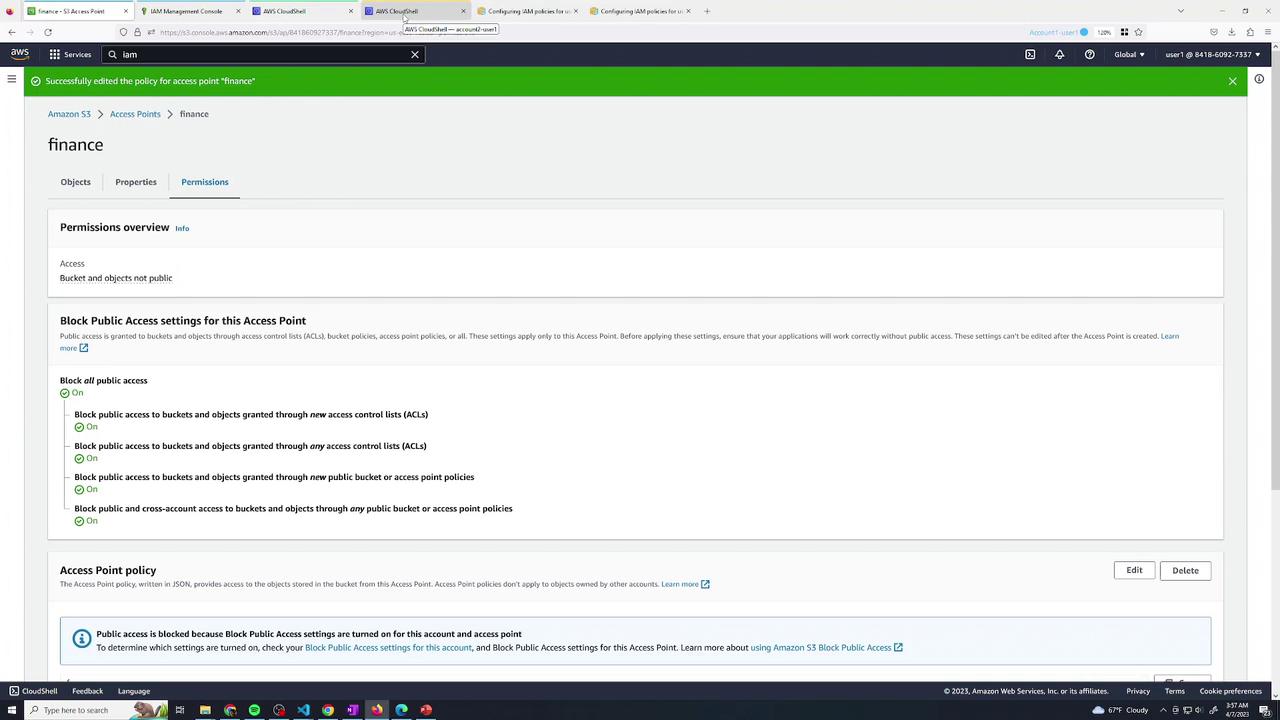
Inspect the finance access point’s permissions tab:
8. Conclusion
By leveraging S3 Access Points, you can:
Delegate access control to distinct teams without modifying the main bucket policy.
Create isolated entry points with tailored permissions.
Simplify management when multiple user groups share a bucket.
This approach improves security posture and operational efficiency in multi-team environments.


